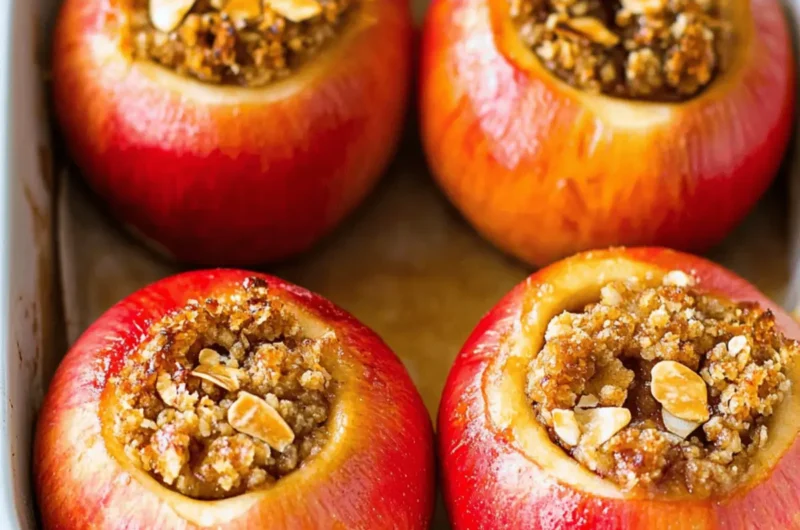
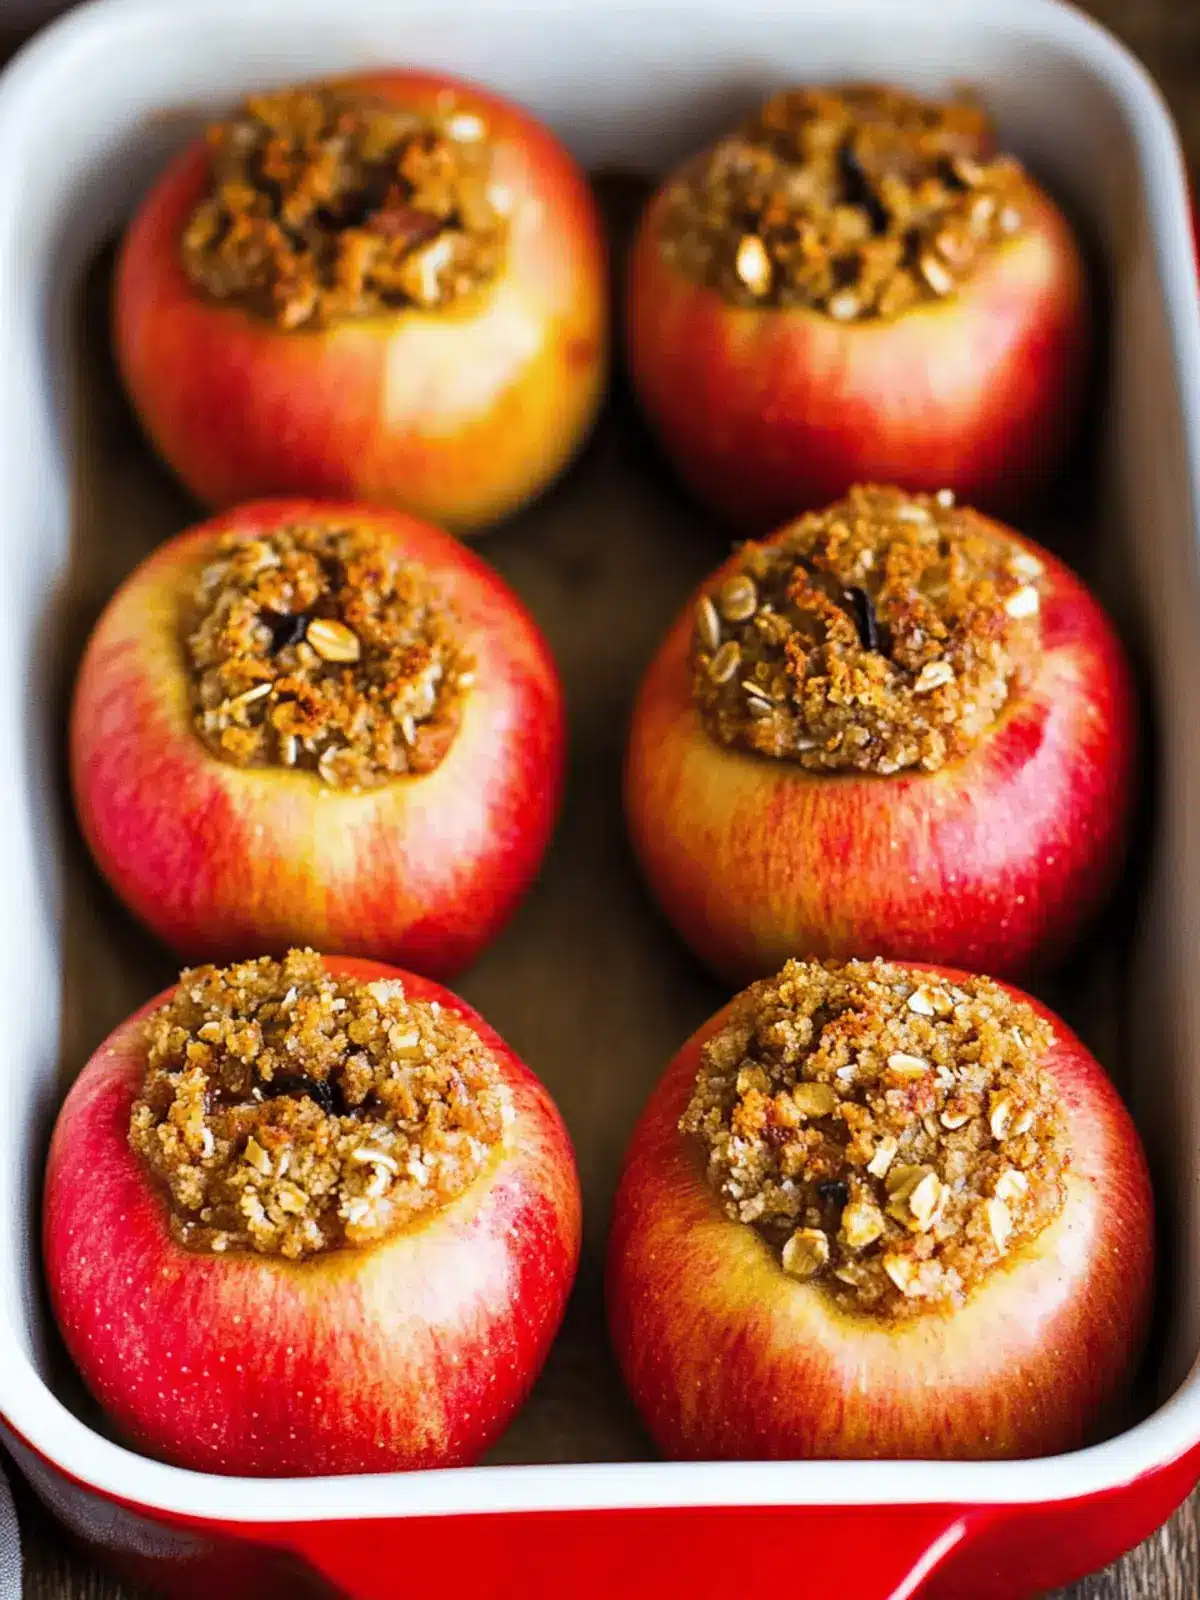
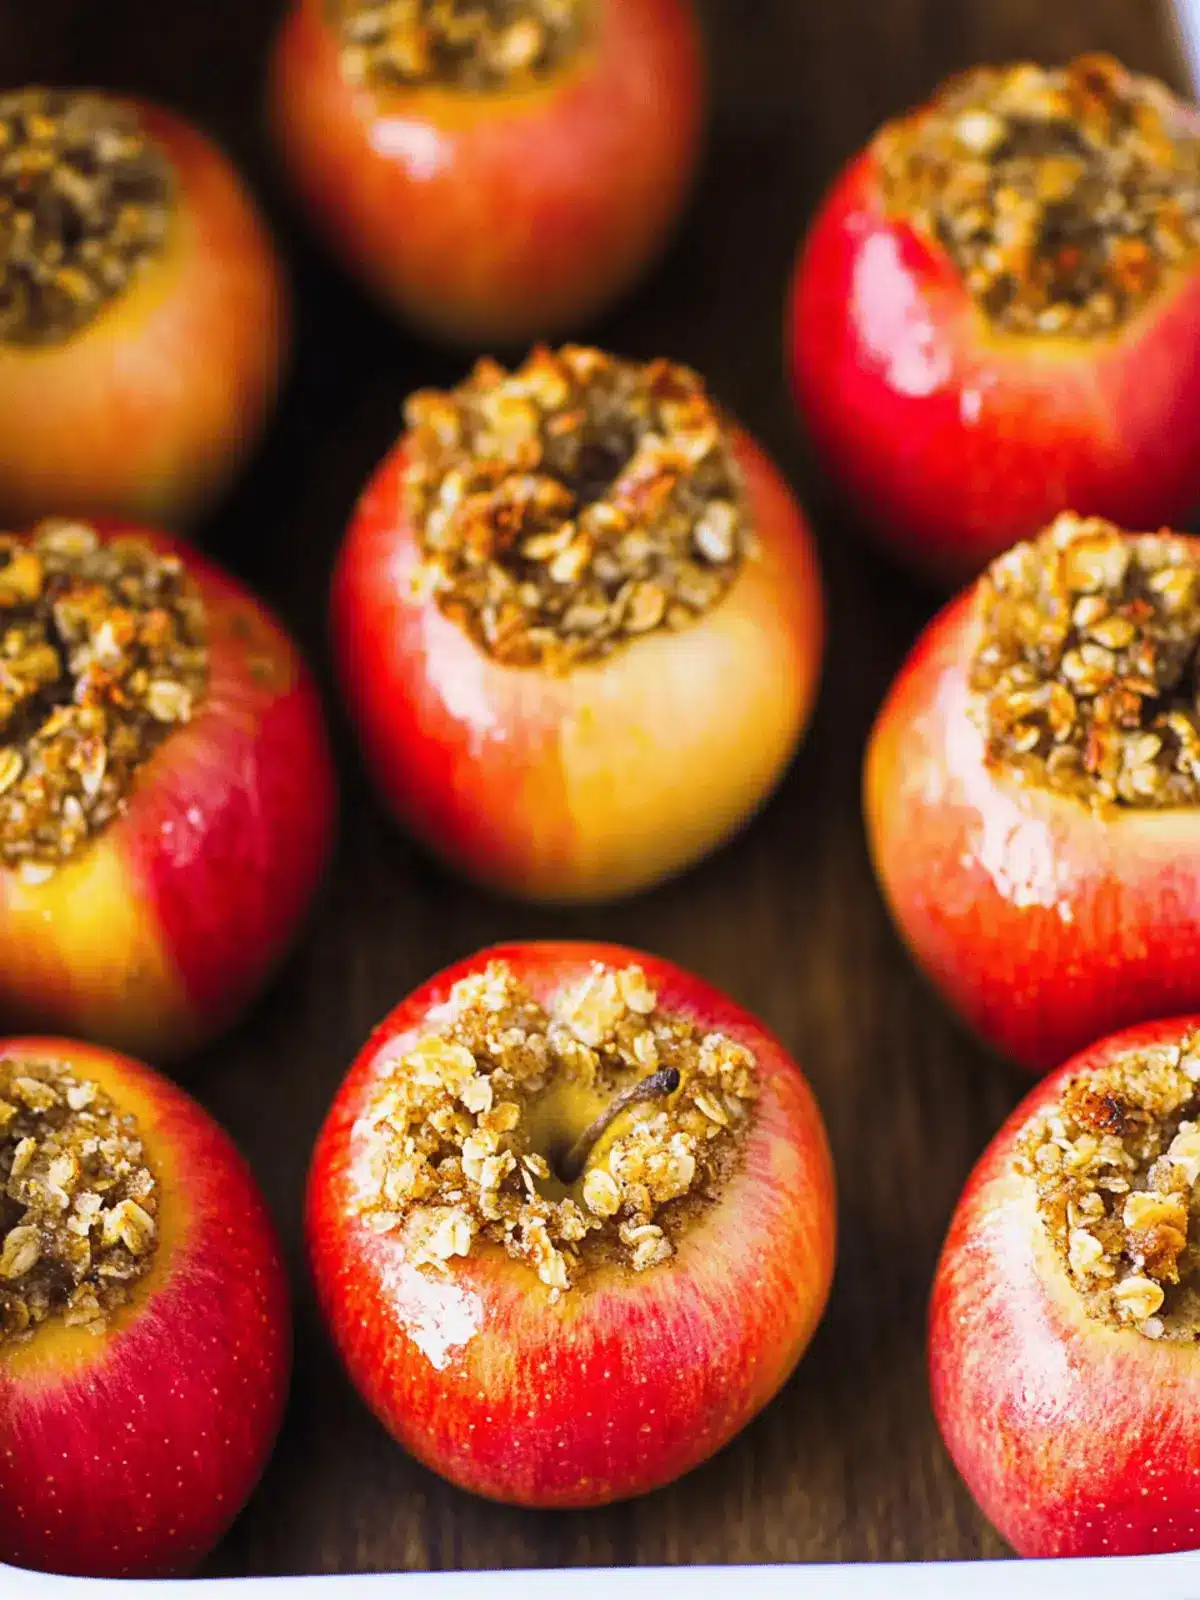
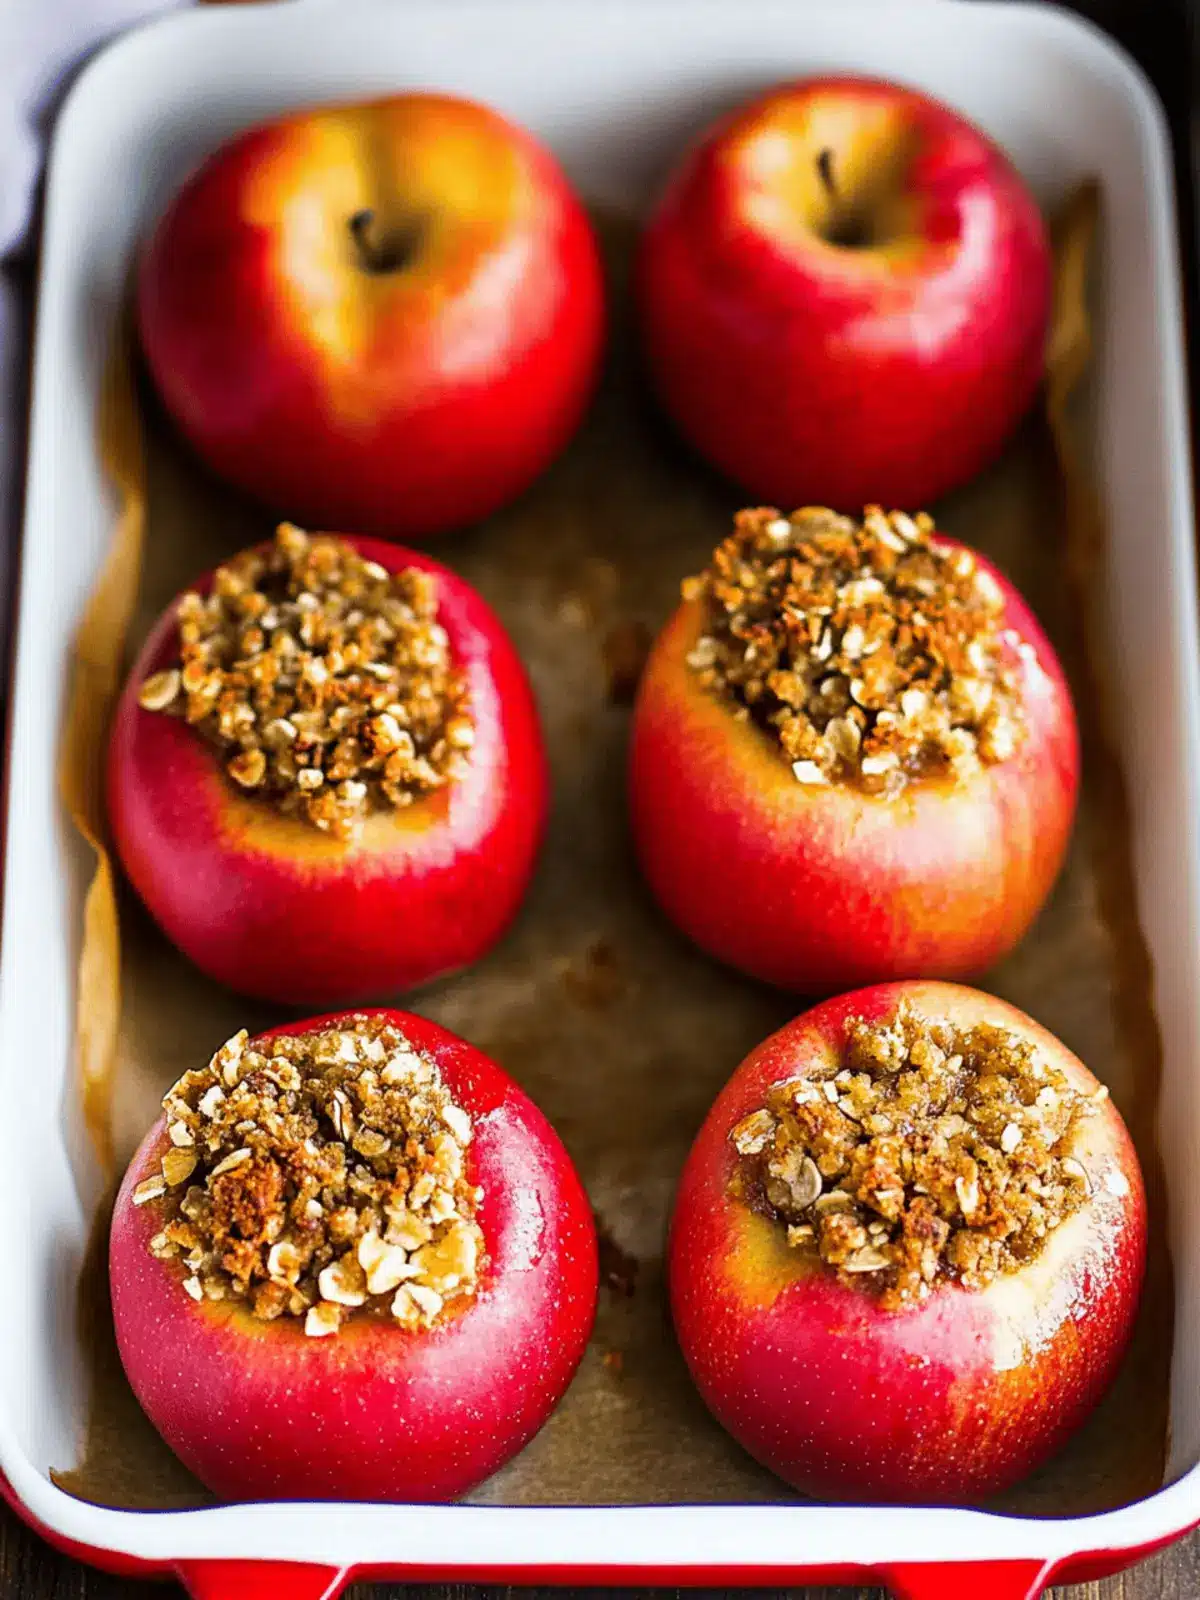
The moment autumn rolls around, I find myself yearning for cozy flavors that warm the heart, and nothing quite captures that essence like baking apples. Picture this: the sweet fragrance of cinnamon wafting through the kitchen as tender, juicy apples transform into a symphony of caramelized goodness. These classic oatmeal-stuffed baked apples are not just a delightful dessert; they’re a celebration of the season, effortlessly blending the tartness of fresh apples with a luscious brown sugar and oat filling.
With just a quick 10 minutes of prep, this gluten-free and vegetarian treat makes any weeknight feel special. Whether served warm with a scoop of vanilla ice cream or simply drizzled with caramel sauce, each bite is guaranteed to evoke the warmth of home and create joyful memories at the dinner table. Join me as we dive into this easy yet delectable recipe that’s perfect for indulging your fall cravings!
Why are baked apples the ultimate dessert?
Unbeatable Aroma: The heavenly scent of these baking apples will fill your kitchen, inviting everyone to gather around.
Quick and Easy: With just 10 minutes of prep time, you’ll have this beautiful dessert ready in no time—perfect for busy weeknights!
Seasonal Sensation: Celebrate autumn’s harvest with the delightful combination of tart apples and sweet oatmeal stuffing that embodies cozy fall flavors.
Gluten-Free and Vegetarian: Enjoy guilt-free indulgence, as this recipe caters to various dietary preferences without compromising on taste.
Crowd Pleaser: Whether it’s a family gathering or a cozy dinner with friends, these stuffed baked apples are sure to impress and satisfy!
Baked Apples Ingredients
• Prepare to fall in love with these delightful baked apples!
For the Apples
- Apples – Use Honeycrisp or Pink Lady for the best sweetness and texture.
For the Filling
- Apple Juice – Keeps the apples moist during baking; water can be substituted if needed.
- All Purpose Flour – Adds structure to the filling; swap with oat flour for a gluten-free version.
- Brown Sugar – Sweetens and adds moisture; light or dark brown sugar works equally well.
- Rolled Oats – Provides texture; quick oats can be substituted, though the texture will vary.
- Ground Cinnamon – Infuses the filling with warm flavor; feel free to mix in nutmeg for a twist.
- Walnuts – Gives a delightful crunch; pecans are a great alternative if desired.
- Salt – A pinch enhances the sweetness beautifully.
- Unsalted Butter – Binds the filling together and adds richness; can be replaced with coconut oil for a dairy-free option.
Optional Toppings
- Vanilla Ice Cream – A scoop on top elevates the dessert to new heights!
- Caramel Sauce – Drizzle over for that extra indulgent touch.
These baked apples are the ideal cozy treat, combining wholesome ingredients in a simple yet satisfying way!
How to Make Stuffed Baked Apples
-
Preheat oven: Set your oven to 375°F (190°C), allowing it to warm up while you prepare the apples for baking.
-
Prepare the dish: Pour apple juice into the bottom of a baking dish, creating a flavorful base that will keep the apples moist during cooking.
-
Core the apples: Carefully core each apple using a paring knife or melon baller, making sure not to cut through the bottom to avoid any leakage.
-
Mix the filling: In a medium bowl, combine flour, brown sugar, oats, cinnamon, walnuts, and a pinch of salt. Stir until everything is well blended, creating a delightful filling.
-
Add the butter: Pour melted butter into the mixture, combining it well until the filling sticks together and becomes cohesive.
-
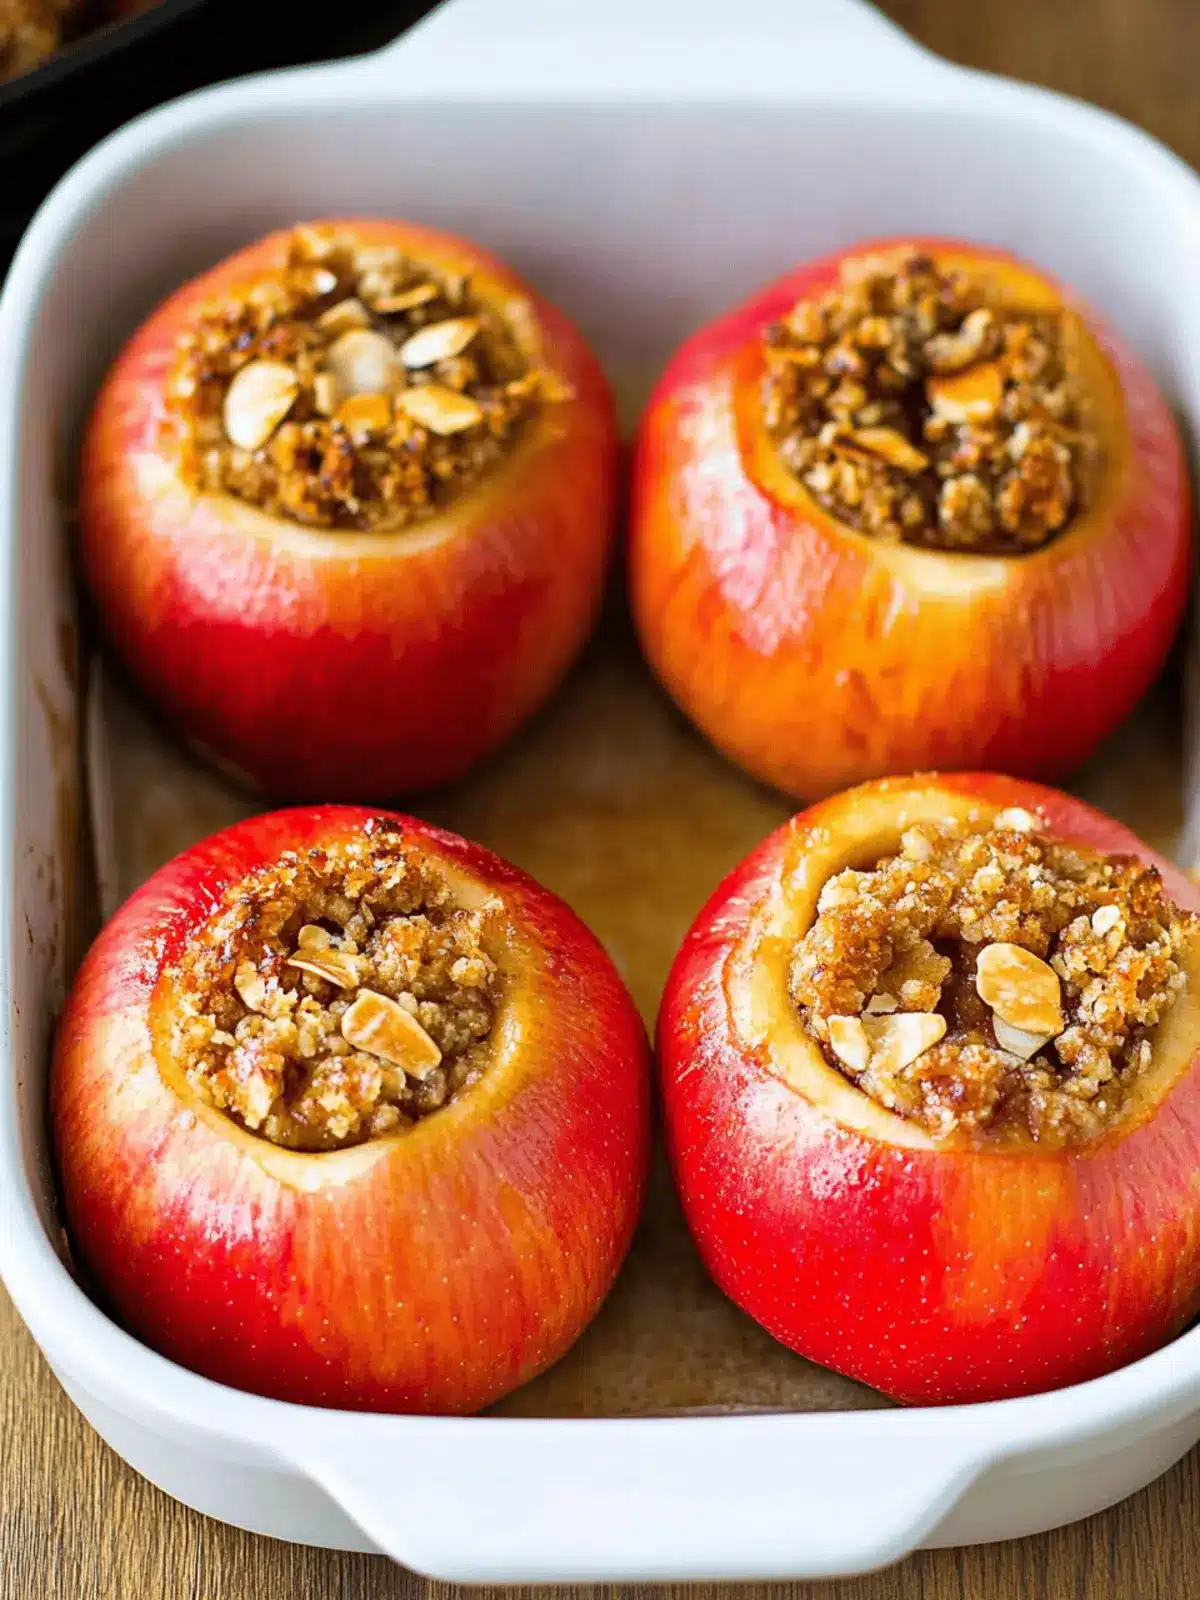
Stuff the apples: Generously stuff each apple with the filling, making sure to mound some on top for an extra delightful bite of sweetness.
-
Bake: Place the stuffed apples in your prepared baking dish and bake for about 40 minutes, or until they are tender and the filling is bubbly.
-
Cool and serve: Allow the baked apples to cool for about 5 minutes before serving. Optional: Top with a scoop of vanilla ice cream or drizzle with caramel sauce to add an indulgent twist.
Exact quantities are listed in the recipe card below.
How to Store and Freeze Baked Apples
Fridge: Store leftover baked apples in an airtight container for up to 3 days. This keeps them fresh and maintains their moist texture.
Freezer: Freeze individual baked apples wrapped tightly in plastic wrap and then in foil for up to 3 months. Allow them to cool completely before wrapping.
Reheating: Reheat thawed baked apples in the microwave for about 1 minute or bake in a preheated oven at 350°F until warmed through—perfect for enjoying your delicious baked apples again!
Make-Ahead Tip: Prepare the filling and stuff the apples a day ahead; store them unfrozen in the fridge and bake them fresh when you’re ready to serve!
Baked Apples Variations
Feel free to mix things up with these delightful twists on your baked apples!
-
Nut-Free: Omit the walnuts entirely for a nut-free dessert that’s equally delicious. You won’t miss the crunch!
-
Fruit Juice Swaps: Experiment with juices like cranberry or orange to add a different flavor profile to your baked apples. Each option brings a fresh twist!
-
Extra Sweetness: Toss in dried fruits, such as raisins or chopped dates, into the filling for added sweetness and chewy texture. These will create a wonderful contrast!
-
Spiced Up: Incorporate different spices like ginger or allspice into the filling for an exciting flavor boost that dances on your taste buds. Your kitchen will smell amazing!
-
Coconut Variation: Swap butter for coconut oil to add a hint of coconut flavor, making it a creamy, dairy-free delight. The richness remains!
-
Apple Variety: Try using different apple varieties, like Granny Smith for a tart contrast, or Fuji apples for extra sweetness. Each kind brings its own charm!
-
Chocolate Drizzle: After baking, drizzle melted chocolate over each apple for a decadent treat that pairs perfectly with the sweet filling. It’ll be a crowd favorite!
-
Savory Touch: For an adventurous twist, add a pinch of sea salt or use a splash of balsamic vinegar in the filling to create a savory-sweet combination that excites the palate. The balance is heavenly!
What to Serve with Classic Oatmeal-Stuffed Baked Apples?
As the aroma of baked apples fills your home, consider these delightful pairings to complete your cozy feast.
- Vanilla Ice Cream: A classic pairing that melts beautifully over warm apples, adding creaminess and richness. A scoop enhances the cozy experience.
- Caramel Sauce: Drizzling warm caramel enhances the sweetness and adds an indulgent touch, making every bite even more heavenly.
- Candied Pecans: Their sweet crunch beautifully complements the soft apples, creating a delightful contrast in texture. They can also be sprinkled atop for extra flair.
- Whipped Cream: Light, fluffy, and sweet, it adds a lovely creaminess that balances the richness of the filling. Deliciously refreshing!
- Cinnamon Sugar Tortilla Chips: Crunchy chips dusted with cinnamon sugar create a fun and crispy side, perfect for dipping into the warm filling.
- Hot Apple Cider: A warm beverage that mirrors the flavors of your dessert, making it the perfect accompanying drink on cool fall evenings.
- Spiced Chai Latte: The aromatic spices in this latte complement the cinnamon in the baked apples, creating a wonderfully soothing pairing.
- Chocolate Drizzle: A touch of melted chocolate over the baked apples will appeal to chocolate lovers and adds a touch of decadence.
- Fresh Cranberries: Tossing a few fresh cranberries on top adds a vibrant burst of tartness that brightens the sweet apples and balances flavors beautifully.
- Ginger Snap Cookies: Their spicy bite enhances the aroma of cinnamon in the apples, making for a delightful little treat alongside your dessert.
Make Ahead Options
These irresistible baked apples are perfect for meal prep enthusiasts! You can prepare the filling up to 24 hours in advance by mixing the flour, brown sugar, oats, cinnamon, walnuts, and salt in a bowl. Store the filling in an airtight container in the refrigerator to keep it fresh. Additionally, you can core the apples and keep them in a bowl of water with a splash of lemon juice to prevent browning, refrigerating them overnight. When you’re ready to bake, simply stuff the apples with the prepared filling and bake as directed. This way, you’ll have a warm, comforting dessert on the table in no time, perfect for busy weeknights!
Expert Tips for Baked Apples
-
Choose the Right Apples: Select varieties like Honeycrisp or Pink Lady for optimal sweetness and texture; avoid mealy apples that won’t hold up during baking.
-
Core with Care: When coring, ensure you don’t cut through the bottom of the apples; this prevents the filling from leaking out during baking.
-
Pack the Filling Tightly: Filling should be packed well into each apple for a hearty bite; consider mounding some on top for extra flavor.
-
Monitor Baking Time: Keep an eye on the baking process; apples should be tender but not mushy, ensuring that the filling remains intact.
-
Flavor Variations: Don’t hesitate to experiment! Add dried fruits or different nuts into the filling to elevate your baked apples to new heights.
Classic Oatmeal-Stuffed Baked Apples Recipe FAQs
How do I select the best apples for baking?
Absolutely! For baking, I recommend using Honeycrisp, Pink Lady, Jazz, or Envy apples. These varieties offer the perfect balance of sweetness and tartness, giving your stuffed baked apples a delightful flavor and texture. Avoid mealy apples, as they won’t hold up well during the baking process.
How should I store leftover baked apples?
You can store leftover baked apples in an airtight container in the refrigerator for up to 3 days. This method helps maintain their moisture and delicious texture. When you’re ready to enjoy them again, simply reheat in the microwave for about 1 minute or bake at 350°F until warmed through.
Can I freeze stuffed baked apples?
Yes, you can absolutely freeze stuffed baked apples! Allow them to cool completely, then wrap each apple tightly in plastic wrap and foil. They can be frozen for up to 3 months. When you’re ready to indulge, simply thaw in the refrigerator overnight and reheat as mentioned earlier for a cozy dessert.
What can I do if my apples become mushy during baking?
The key is to monitor your apples while they bake. Keep an eye on the time; they should take about 40 minutes at 375°F (190°C) but can vary based on the size of your apples. To prevent mushiness, avoid cutting too deep when coring and choose varieties that hold their shape well, like Honeycrisp.
Are these baked apples suitable for those with dietary restrictions?
Very! This recipe for classic oatmeal-stuffed baked apples is both gluten-free and vegetarian. For a dairy-free option, simply swap unsalted butter with coconut oil. Additionally, if anyone is allergic to nuts, feel free to omit the walnuts or substitute them with seeds like sunflower seeds for a delightful crunch without the allergens.
Can I prepare these baked apples ahead of time?
Absolutely! You can prepare the filling and stuff the apples a day in advance. Just store them in the refrigerator until you’re ready to bake. This makes it super convenient for busy evenings or special occasions, allowing you to enjoy a thoughtful dessert with minimal fuss.
Irresistible Stuffed Baked Apples for Cozy Fall Nights
Ingredients
Equipment
Method
- Preheat oven to 375°F (190°C).
- Pour apple juice into the bottom of a baking dish.
- Carefully core each apple using a paring knife or melon baller.
- In a medium bowl, combine flour, brown sugar, oats, cinnamon, walnuts, and salt, stirring until blended.
- Pour melted butter into the mixture and combine until cohesive.
- Stuff each apple generously with the filling, mounding some on top.
- Place stuffed apples in baking dish and bake for about 40 minutes until tender.
- Allow to cool for about 5 minutes before serving. Top with ice cream or caramel sauce if desired.

