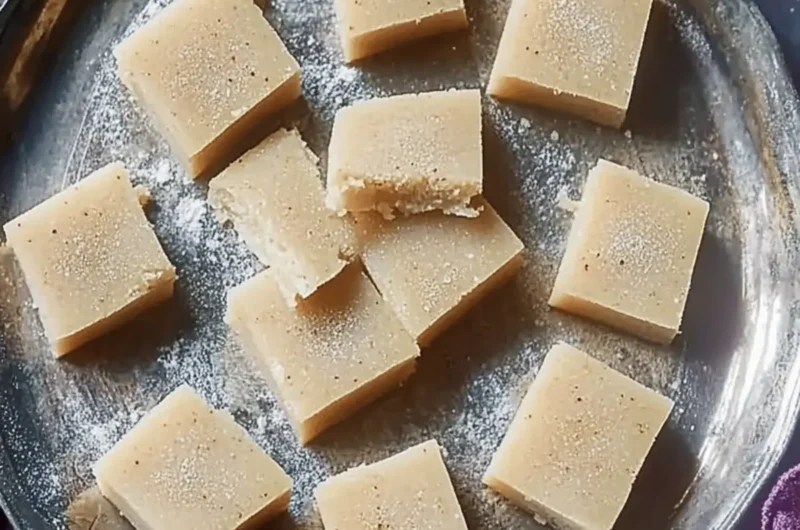
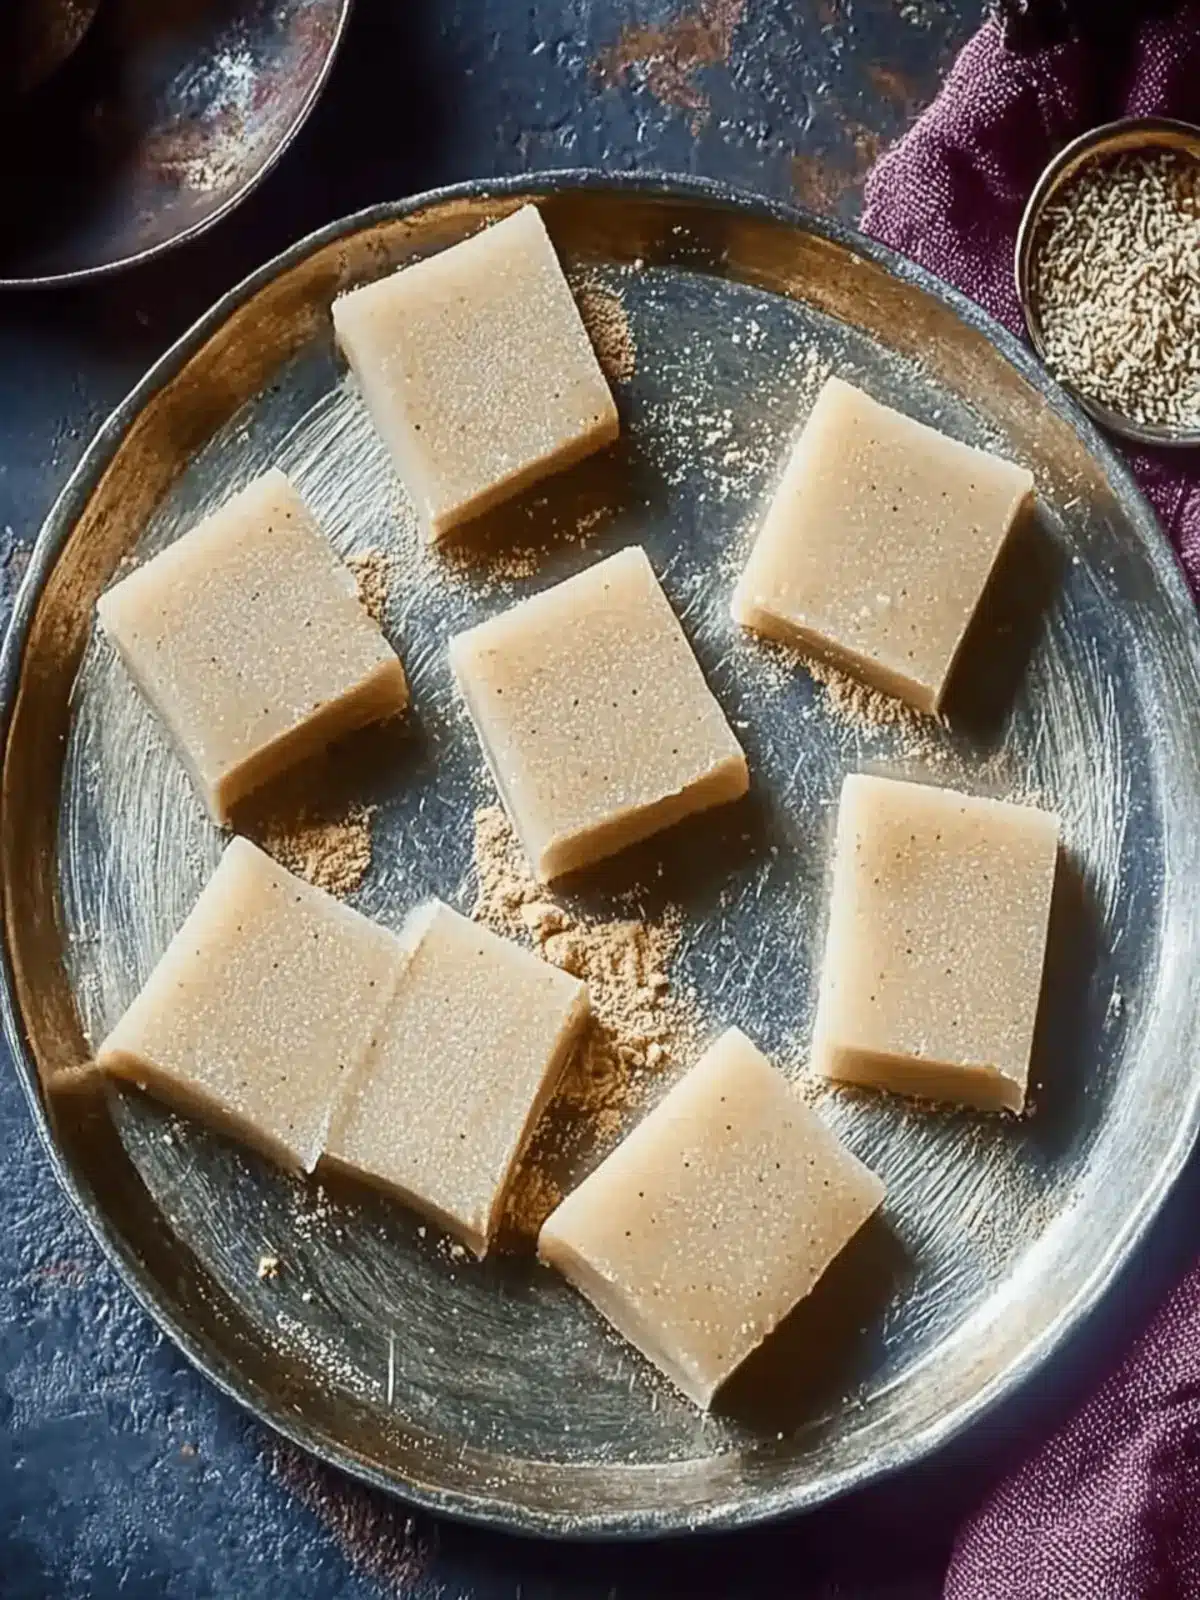
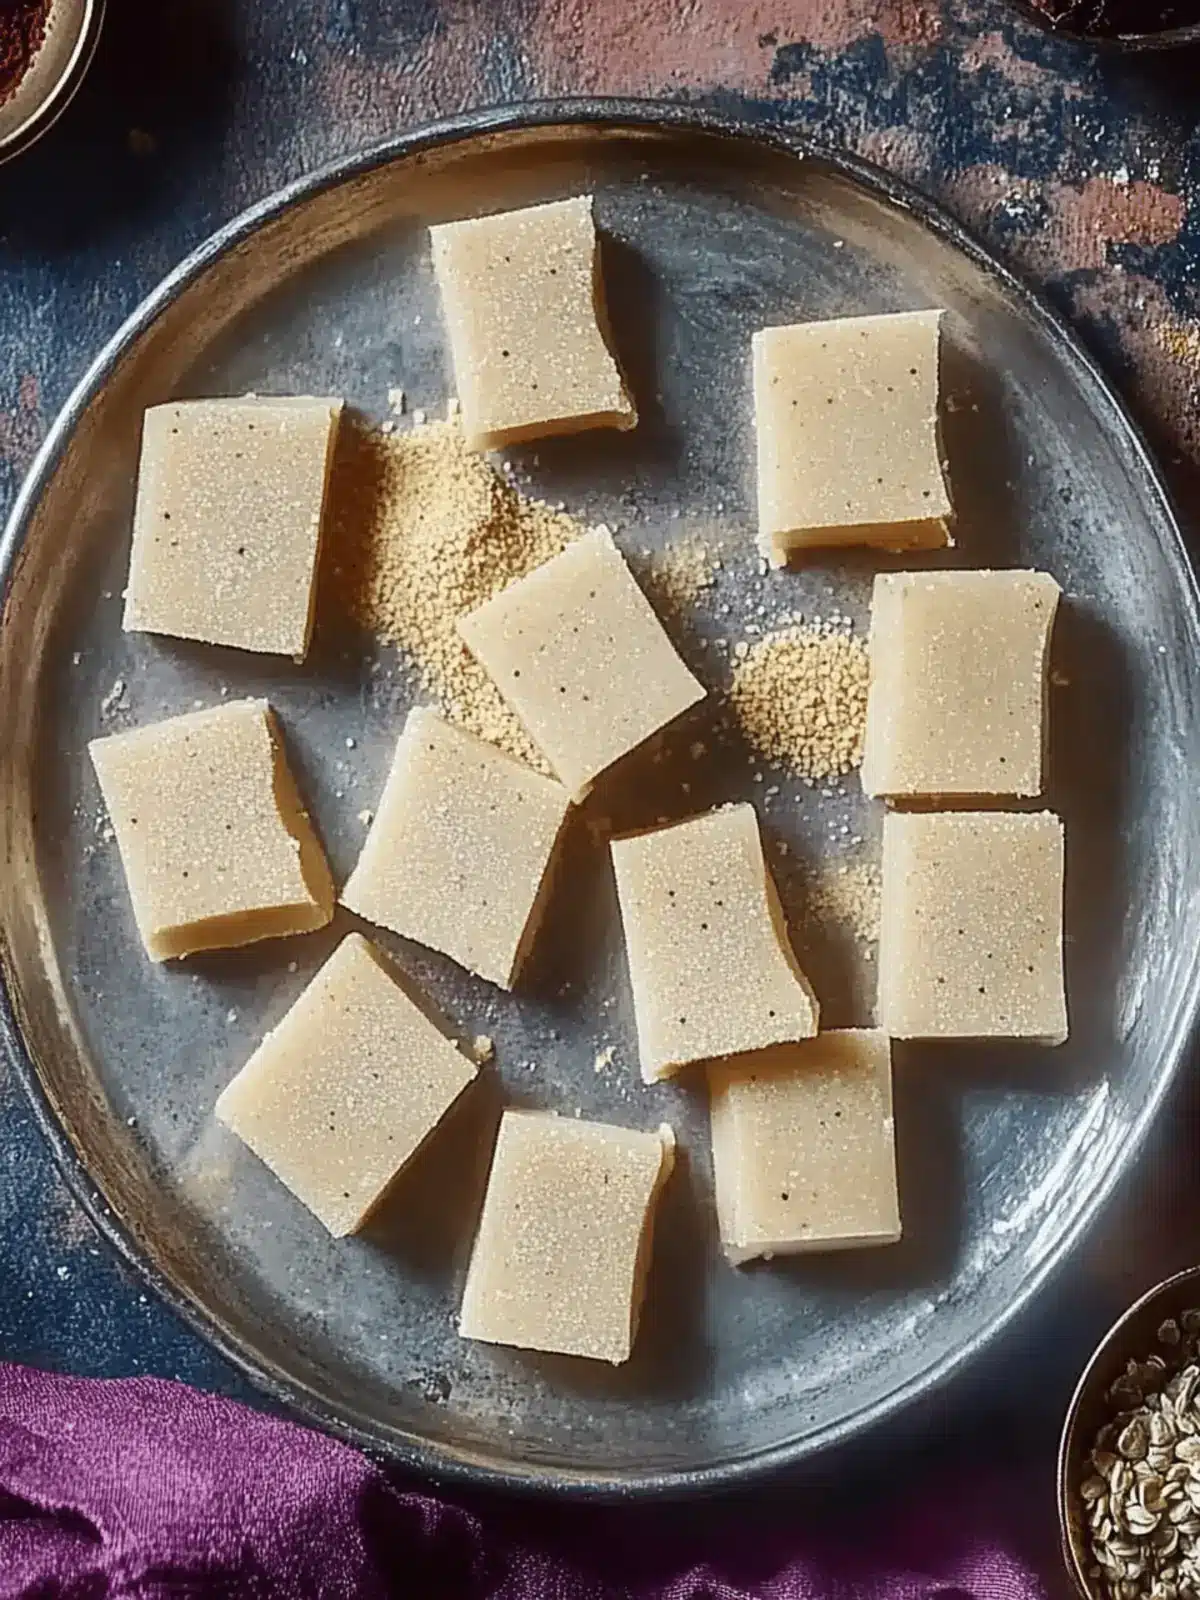
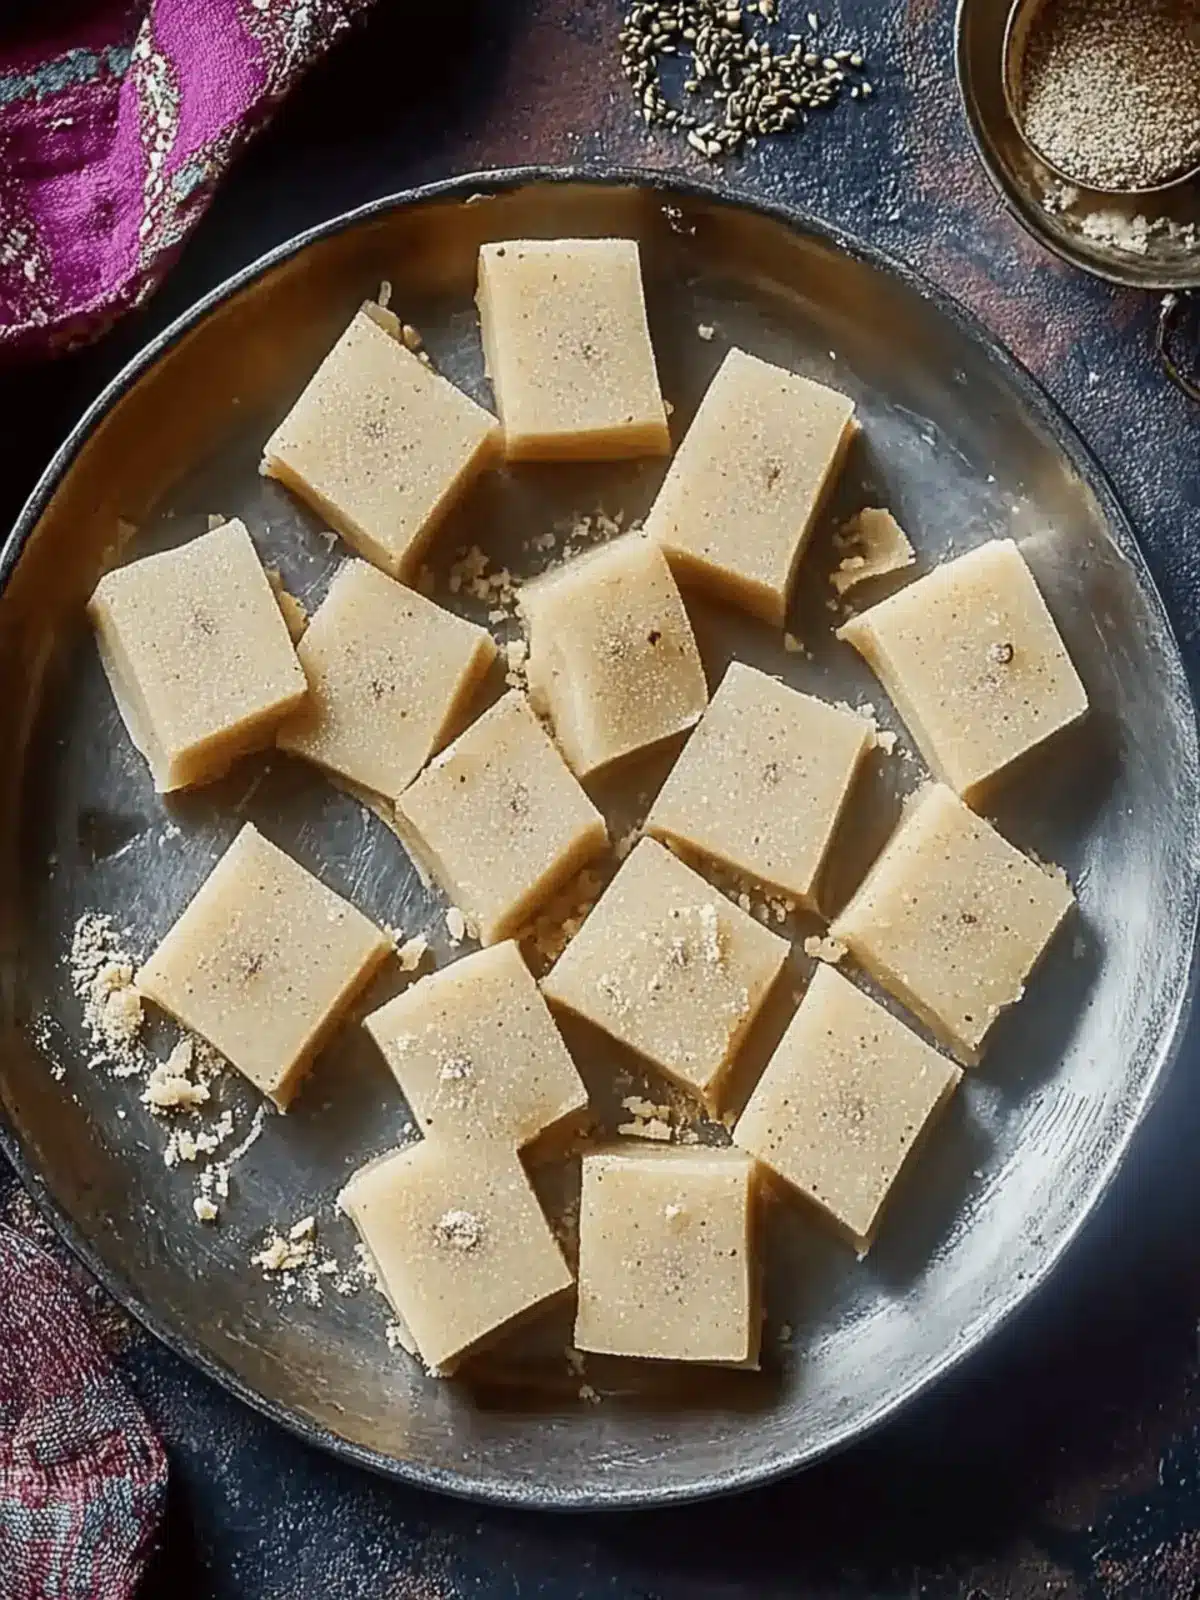
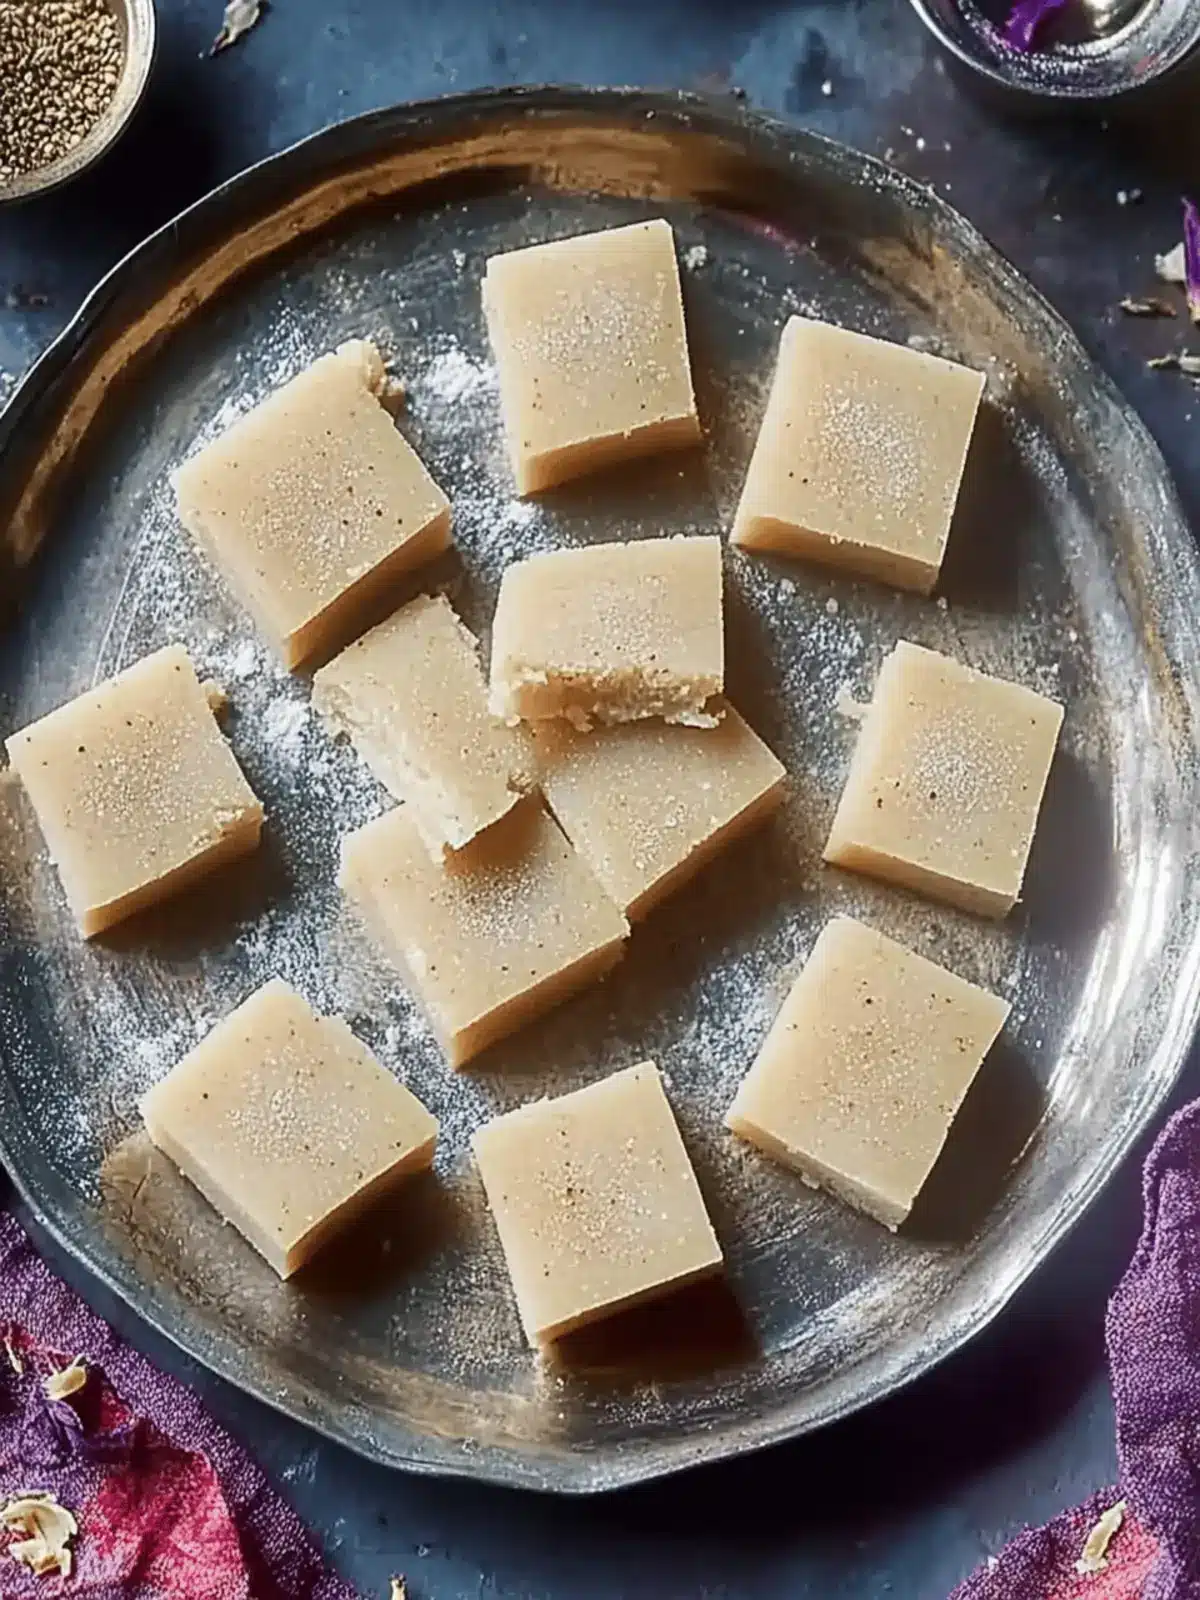
If you’ve ever wandered through an Indian market, you might have caught a whiff of something sweet and inviting—perhaps it was the delightful aroma of Kaju Katli, a traditional Indian treat that has a special place in my heart. Picture yourself savoring these melt-in-your-mouth diamond-shaped sweets, made from finely ground cashews, fragrant cardamom, and a hint of luxurious saffron.
Creating Kaju Katli at home not only fills your kitchen with a warm, tantalizing scent, but it’s also an incredibly simple process. This gluten-free and vegetarian dessert is perfect for celebrations or just a cozy night in, offering a unique flavor that distinguishes it from typical store-bought sweets.
When life feels overwhelming or I crave a moment of happiness, making Kaju Katli lifts my spirits—with just a few ingredients, you can whip up these delightful treats and indulge in a taste of Indian culture in your own home. Ready to impress friends and family with this scrumptious delicacy? Let’s get started!
Why is Kaju Katli a Must-Try?
Simplicity at Its Best: The process is incredibly easy, requiring minimal cooking skills to achieve delicious results.
Melt-in-Your-Mouth Texture: Each bite is a luxurious experience, with a smooth and fudgy consistency that simply dissolves in your mouth.
Exotic Flavors: Infused with fragrant cardamom and saffron, it offers a unique taste that elevates any dessert spread.
Versatile Treat: Perfect for any occasion, it can be enjoyed alongside chai, coffee, or even as a festive gift.
Crowd-Pleasing Delight: This gluten-free, vegetarian dessert is sure to impress guests, making it a favorite at gatherings.
Quick to Make: In less than an hour, you can create a delightful batch that satisfies your sweet cravings and showcases your culinary skills!
Kaju Katli Ingredients
For the Base
- Ghee – Provides richness and prevents sticking; substitute with coconut oil for a vegan option.
- Unsalted Cashews (250g) – The main ingredient, ensuring the creamy texture; roast before grinding for the best flavor.
- White Sugar (175g) – Essential for sweetness; consider coconut sugar as a healthier substitute, though it may alter texture.
For Flavoring
- Saffron Threads (1 pinch) – Adds a unique flavor and stunning golden hue; if unavailable, yellow food coloring can be used but the taste will differ.
- Ground Cardamom (¼ tsp) – Infuses the sweet with a warm aroma; nutmeg can be used as an alternative for a different flavor twist.
Dive into the world of Kaju Katli and let the tantalizing flavors envelop your senses!
How to Make Kaju Katli
-
Prepare the tray: Line a 30cm x 20cm shallow baking tray with parchment paper and grease it generously with ghee. This will help your Kaju Katli release easily after setting.
-
Toast the cashews: Place unsalted cashews in a dry frying pan and toast for about 3-4 minutes. Toss them frequently to achieve a light golden color without burning. Allow them to cool completely.
-
Grind the cashews: In a food processor, grind the cooled cashews into a fine powder. Make sure to sift the mixture to remove any larger pieces for a smooth texture in your Kaju Katli.
-
Cook the syrup: In a frying pan, pour in 80ml of water and add the white sugar. Heat on medium, stirring until the sugar dissolves—this should take about 2-3 minutes.
-
Combine ingredients: Once the sugar is dissolved, add the cashew powder, saffron threads, and ground cardamom to the pan. Stir to combine thoroughly.
-
Thicken the mixture: Cook the mixture while stirring constantly for about 5 minutes. Then add 1 tablespoon of ghee and continue cooking. Keep stirring until it thickens to a fudge-like consistency, approximately 8-10 minutes.
-
Check readiness: Take a small piece of the mixture and roll it into a ball. If it sticks, continue cooking a little longer until ready.
-
Shape the katli: Spread the mixture onto the prepared tray and allow it to cool for about 15 minutes. After cooling, knead the mixture gently, flatten it into a square about 1 cm thick, and cut it into diamond shapes. Let it set for 1 hour at room temperature.
Optional: Decorate with chopped nuts for an extra touch of flair.
Exact quantities are listed in the recipe card below.
Expert Tips for Kaju Katli
-
Don’t Over-Grind: Avoid grinding cashews into a paste as it can make your Kaju Katli oily; aim for a fine powder instead.
-
Watch the Heat: Stir the sugar mixture constantly to prevent it from burning; a burnt caramel can ruin the delightful flavor of your Kaju Katli.
-
Test for Readiness: Conduct the ball test frequently to ensure your mixture has reached the right consistency—it should hold its shape without sticking excessively.
-
Grease Properly: Make sure to apply enough ghee to the tray before pouring the mixture in; this ensures easy removal and preserves the shape of your Kaju Katli.
-
Patience in Cooling: Allow the Katli to cool completely before cutting—this helps maintain clean edges and perfect diamond shapes for a professional presentation.
Kaju Katli Variations & Substitutions
Feel free to let your creativity run wild and customize your Kaju Katli with these flavorful swaps and twists!
-
Nut Variations: Substitute cashews with almonds or pistachios for a unique flavor profile and texture. Each nut brings its own character, enhancing your Kaju Katli’s charm.
-
Chocolate Twist: Add a couple of tablespoons of cocoa powder for a rich chocolate version that will satisfy any chocoholic’s sweet tooth. It’s a delicious take on the classic!
-
Sweetener Swap: For a healthier alternative, switch the white sugar with coconut sugar. Keep in mind it may alter the texture slightly, but the unique taste is worth it!
-
Fragrant Flavors: Experiment with other spices like nutmeg or cinnamon instead of cardamom to explore different aromatic experiences. These spices can elevate your Kaju Katli uniquely!
-
Vegan Option: Replace ghee with coconut oil or vegan butter to make your Kaju Katli dairy-free, while still ensuring richness and flavor in each bite.
-
Toppings Galore: Sprinkle some finely chopped nuts or edible silver leaf (varak) on top before cutting your Kaju Katli for an added touch of elegance and crunch.
-
Dried Fruit: Mix in finely chopped dried fruits such as raisins or apricots to add texture and a burst of natural sweetness, making every bite exciting!
-
Saffron Alternatives: If saffron is hard to come by, use a few drops of natural food coloring to achieve that beautiful golden hue, although the flavor will be missed.
These variations not only customize the taste but also allow for a personal touch that reflects your taste preferences!
How to Store and Freeze Kaju Katli
Room Temperature: Store Kaju Katli in an airtight container at room temperature for up to 1 week. Ensure the container is tightly sealed to maintain freshness and prevent it from becoming dry.
Fridge: If you’d like to keep your Kaju Katli fresh for a bit longer, refrigerate it in an airtight container for up to 2 weeks. Just remember to bring it back to room temperature before serving, as it’s best enjoyed soft.
Freezer: For longer storage, Kaju Katli can be frozen for up to 3 months. Wrap each piece in plastic wrap, then place in an airtight container. Simply thaw at room temperature before indulging.
Reheating: There’s no need to reheat Kaju Katli; it’s delightful served at room temperature or slightly chilled, making it a convenient treat at any time!
What to Serve with Kaju Katli?
Indulging in Kaju Katli offers a luxurious taste experience, but the right accompaniments can elevate the occasion even further.
-
Masala Chai: The warmth and spices of this classic Indian tea perfectly complement the sweet, nutty flavors of Kaju Katli. It’s the ultimate pairing that balances richness with zest.
-
Saffron Rice Pudding: This creamy dessert offers a contrasting texture and enhances the saffron notes found in the Kaju Katli, adding an elegant touch to your dessert spread.
-
Fresh Fruit Salad: A refreshing fruit medley brings a burst of freshness that cuts through the sweetness, providing a vibrant and colorful addition to the table.
-
Mango Lassi: This luscious yogurt drink not only cools the palate but also adds a fruity twist that pairs beautifully with the rich, cashew-based sweetness of the Kaju Katli.
-
Cardamom Coffee: The aromatic spices in a cup of cardamom-infused coffee can elevate the dessert experience, creating a delightful fusion of flavors that linger on the palate.
-
Roasted Nuts Platter: A variety of roasted nuts adds crunch and complements the creamy texture of Kaju Katli, making for an impressive and satisfying snack selection.
With these delightful pairings, you can create an inviting dessert experience that highlights the elegance and richness of Kaju Katli, ensuring your gathering remains unforgettable!
Make Ahead Options
Making Kaju Katli ahead of time is a fantastic way to save yourself some precious moments when entertaining or during busy weeknights! You can prepare the entire mixture up to 24 hours in advance and refrigerate it in an airtight container; this not only enhances the flavors but also ensures it remains just as delicious. Simply follow all the steps up until shaping the katli, then cool and store. When you’re ready to serve, take the mixture out, knead it gently, flatten it, and cut into diamond shapes. This method keeps the texture perfect while allowing you to enjoy the sweet treat without last-minute stress!
Kaju Katli Recipe FAQs
What should I look for when selecting cashews for Kaju Katli?
Absolutely! For the best flavor and texture, choose unsalted cashews that are fresh and plump. You want to avoid any with dark spots or a rancid smell, as these can affect the final taste of your Kaju Katli. Always opt for roasted cashews if possible; they bring out a deeper, richer flavor compared to raw ones.
How long can I store Kaju Katli, and what’s the best method?
Kaju Katli can be stored in an airtight container at room temperature for up to a week. If you prefer longer freshness, refrigerate it where it can last for about two weeks. Just ensure the container is sealed tightly, so it doesn’t dry out. Always bring it back to room temperature for the best melt-in-your-mouth experience when serving!
Can I freeze Kaju Katli for future enjoyment?
Very much! Kaju Katli freezes beautifully. Wrap each piece in plastic wrap, then place them in an airtight container or a freezer-safe bag. You can store them in the freezer for up to 3 months. When you’re ready to enjoy, simply thaw at room temperature for a few hours. There’s no need to reheat—just dive right in!
What should I do if my Kaju Katli mixture is too sticky?
If you find that your mixture is overly sticky and not holding together well, it’s likely that it hasn’t reached the right texture. Go ahead and continue cooking it on low heat for a few more minutes while stirring constantly. Monitor it closely and perform the ball test again; it should be manageable and not excessively sticky!
Are there any dietary considerations I need to keep in mind when making Kaju Katli?
Absolutely! Kaju Katli is gluten-free and vegetarian, making it a fantastic treat for various diets. However, if someone has a nut allergy, this recipe isn’t suitable, as it relies heavily on cashews. As a delicious alternative, you might consider making a nut-free sweet using seeds or grains, but remember that the texture and flavor will differ significantly from Kaju Katli.
Melt-in-Your-Mouth Kaju Katli – Easy Indian Sweet Delight
Ingredients
Equipment
Method
- Line a 30cm x 20cm shallow baking tray with parchment paper and grease it generously with ghee.
- Toast unsalted cashews in a dry frying pan for about 3-4 minutes until light golden.
- In a food processor, grind the cooled cashews into a fine powder and sift to remove larger pieces.
- In a frying pan, pour in 80ml of water and add white sugar. Heat on medium until sugar dissolves.
- Add cashew powder, saffron threads, and ground cardamom to the pan once the sugar is dissolved.
- Cook the mixture for about 5 minutes while stirring, then add 1 tablespoon of ghee and continue cooking until it thickens.
- Check readiness by rolling a small piece into a ball; cook longer if it doesn’t hold its shape.
- Spread the mixture onto the prepared tray and let cool for about 15 minutes before cutting into diamond shapes.

