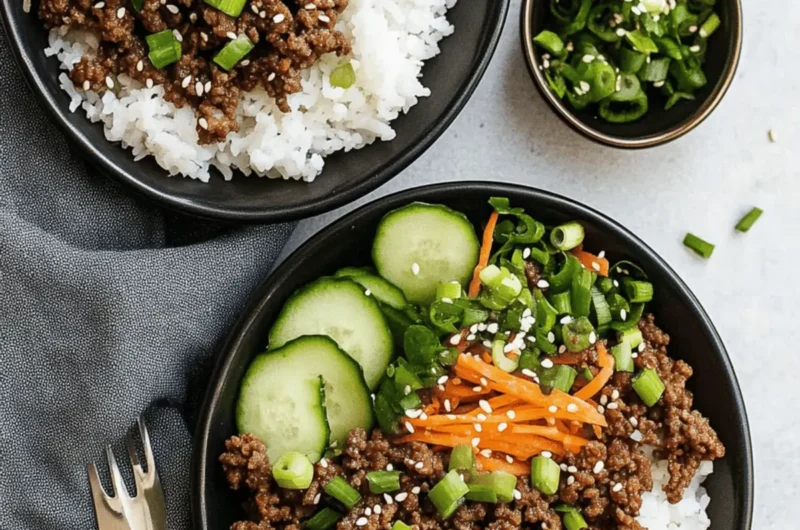
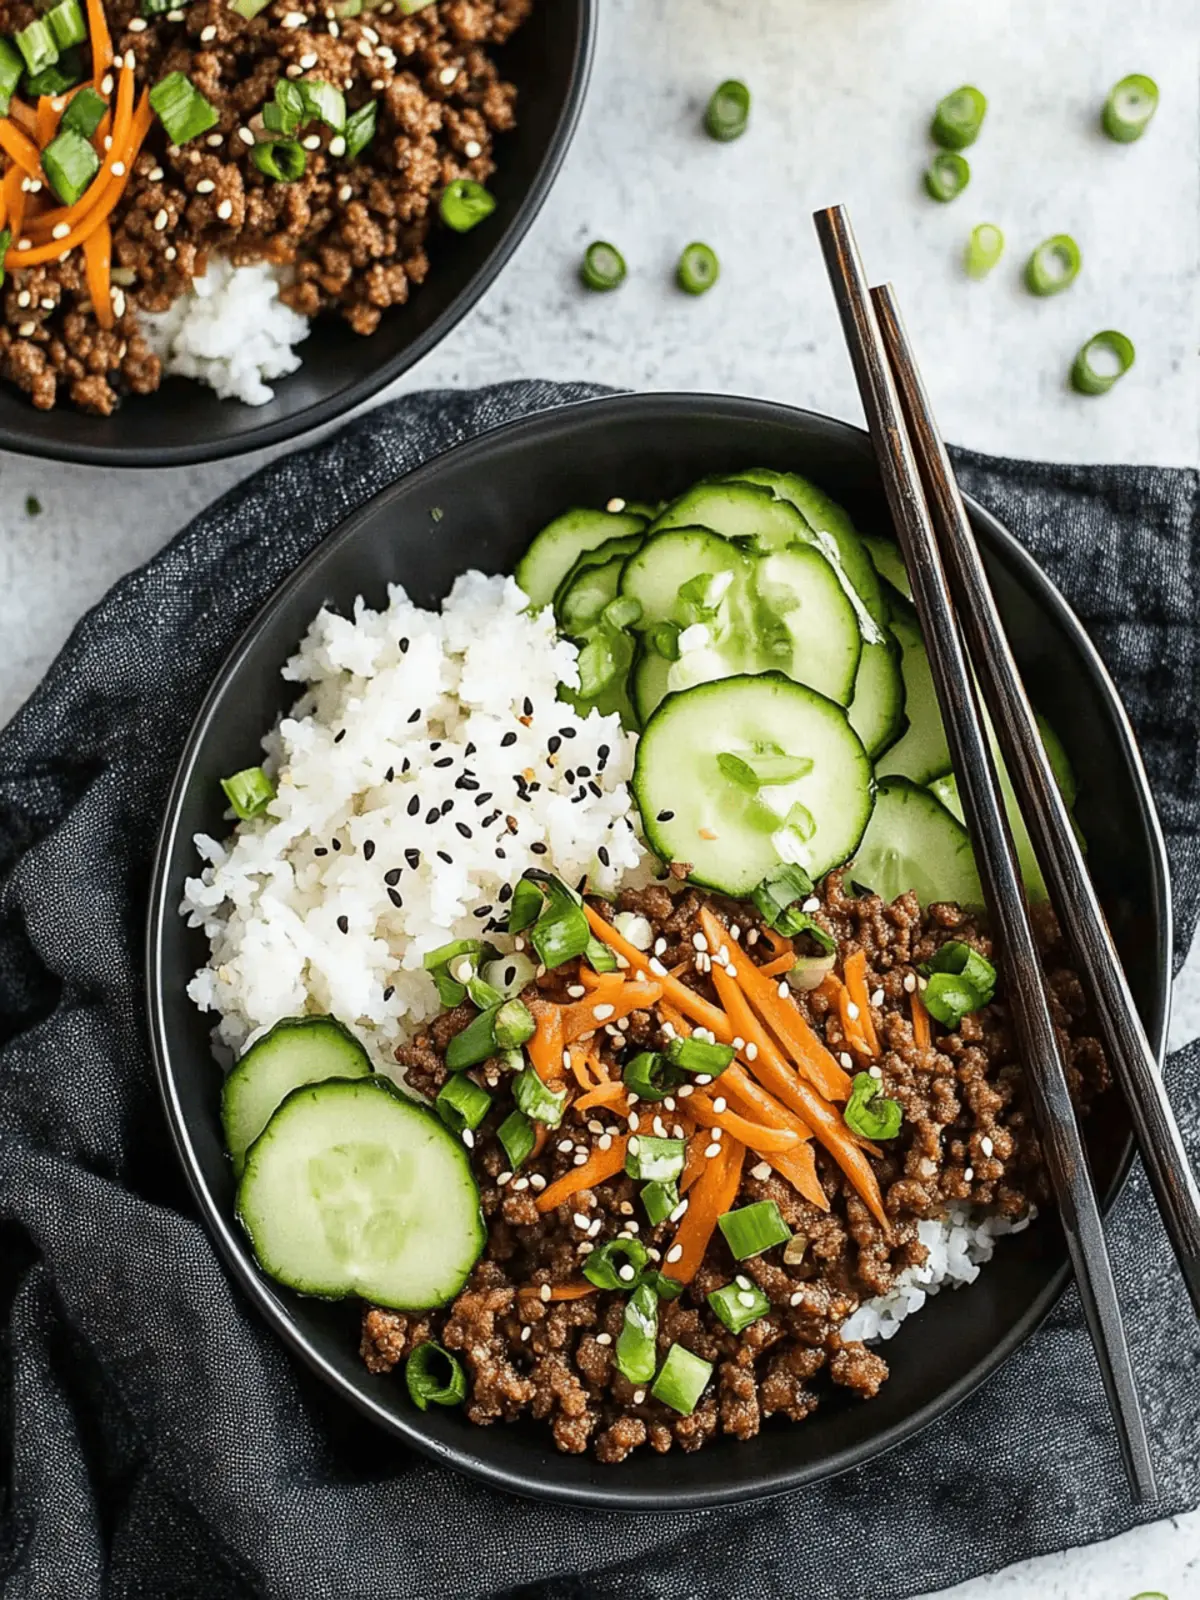
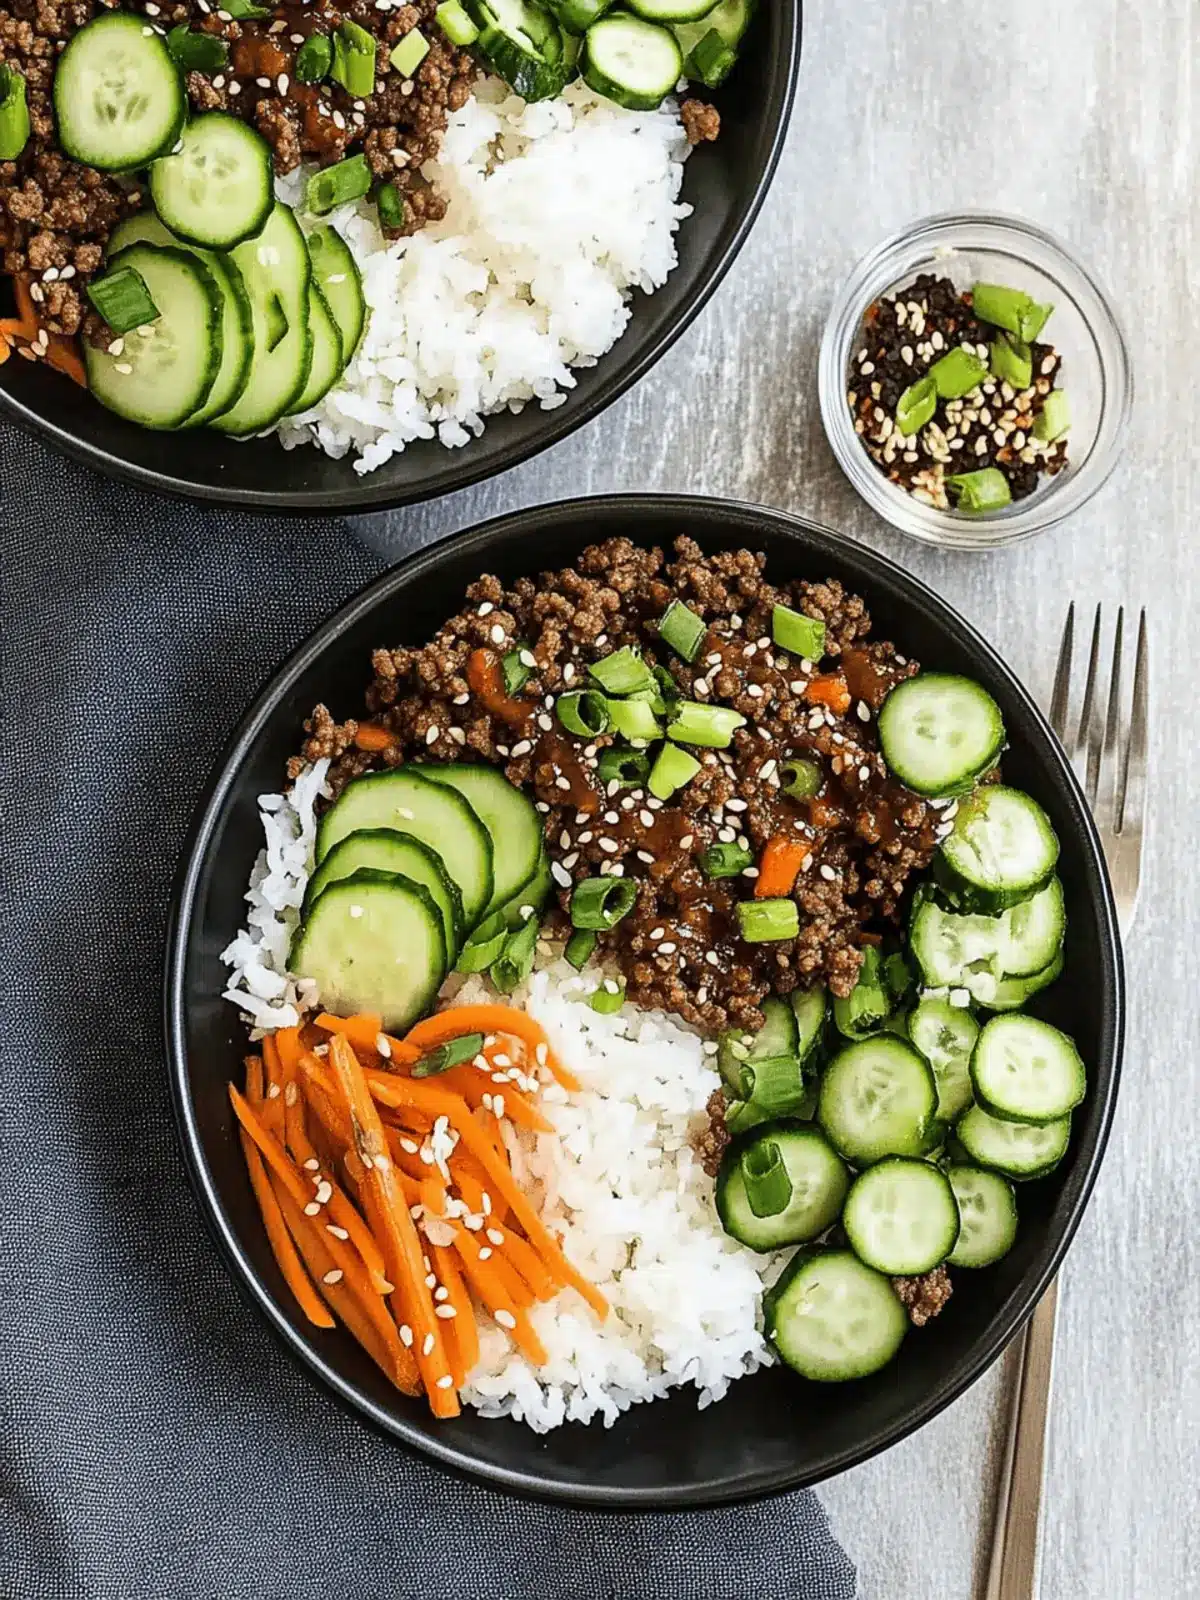
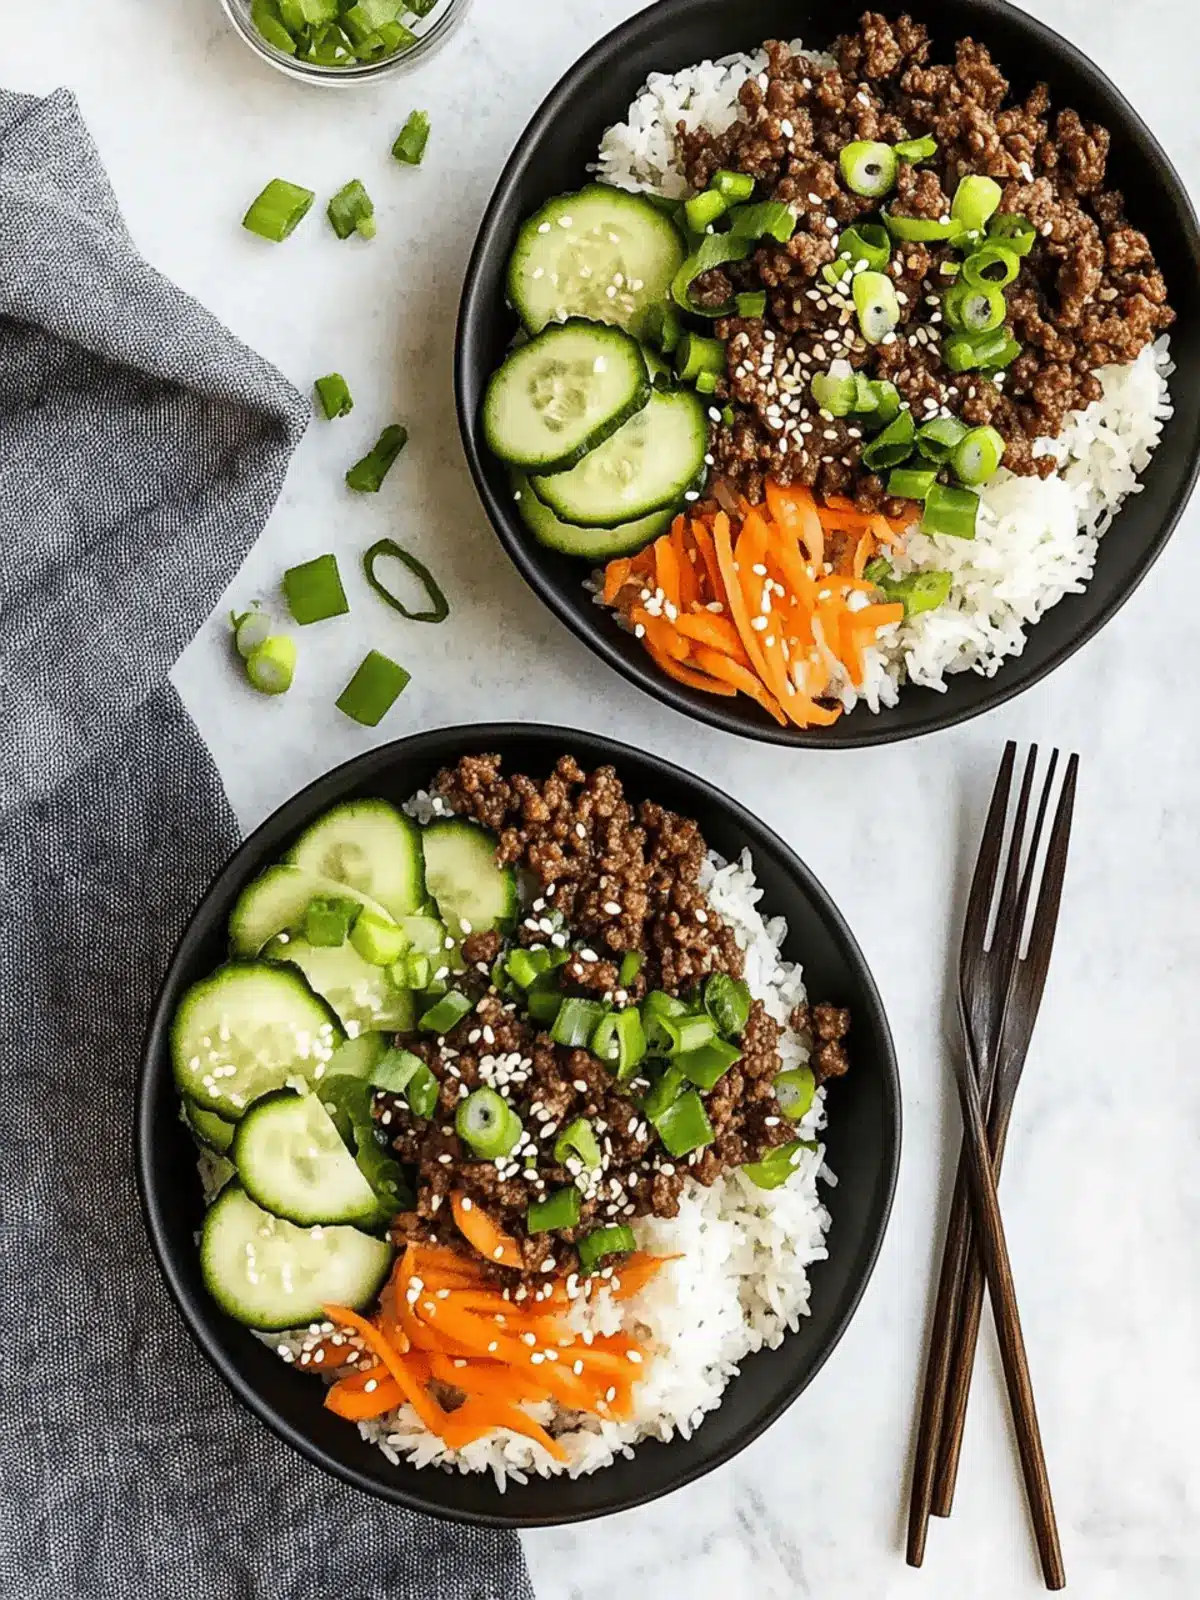
After a long day of work, there’s nothing quite like returning to the comforting embrace of a home-cooked meal. Enter the Quick and Healthy Korean Beef Bowl—a delightful dish that transforms simple ingredients into a vibrant and satisfying feast! With savory ground beef kissed by fragrant garlic, ginger, and a touch of sesame oil, this recipe bursts with bold flavors that will whisk you away to the bustling streets of Korea.
What truly sets this meal apart is its versatility. You can customize it with a variety of toppings, from crisp cucumber slices to a colorful medley of pickled vegetables. Plus, in just 20 minutes, you’ll have a wholesome dinner your whole family will adore. Not to mention, it’s a fantastic option for meal prep, ensuring you can savor those Korean-inspired flavors throughout the week. So grab your skillet, let’s dive into this quick and satisfying recipe that turns your kitchen into a global culinary hub!
Why You’ll Love This Korean Ground Beef Bowls
Quick and Easy: This recipe comes together in just 20 minutes, making it perfect for busy weeknights!
Customizable: You can easily swap ingredients or toppings based on your preferences, making each bowl uniquely yours.
Healthy & Wholesome: Packed with protein and fresh vegetables, this dish is both nutritious and satisfying.
Meal Prep Friendly: Prepare multiple servings for quick lunches all week—just store in airtight containers and enjoy!
Flavor Explosion: With bold flavors from ginger, garlic, and sesame oil, every bite will transport you to Korea without leaving your home.
Korean Ground Beef Bowl Ingredients
These ingredients come together for a delicious and vibrant meal!
For the Beef
- Ground Beef – Main protein source; you can substitute with ground turkey, chicken, or pork for variations.
- Soy Sauce – Adds umami and saltiness; use gluten-free tamari for a gluten-free option.
- Garlic – Provides aromatic depth; fresh garlic is recommended for the best flavor.
- Ginger – Imparts warmth and spice; opt for fresh ginger to elevate the dish.
- Sesame Oil – Adds nuttiness and depth of flavor; toasted sesame oil brings out the best taste.
For the Pickled Vegetables
- Rice Vinegar – Adds acidity and brightness to balance flavors; can substitute with apple cider vinegar.
- Honey – Acts as a sweetener to balance the savory ingredients; maple syrup works as a vegan alternative.
- Red Pepper Flakes – Adds heat; adjust based on your spice preference.
For Serving
- Rice/Quinoa/Cauliflower Rice – Base for the bowl; choose whichever you prefer or have on hand.
- Shredded Carrots – Adds natural sweetness and crunch; consider quick pickling for extra flavor.
- Cucumbers – Freshness and crunch; Persian or English-style are best for texture.
- Scallions – Enhances flavor and color; use both green and white parts for added freshness.
- Toasted Sesame Seeds – For garnish; adds crunch and a nutty finish, enhancing the visual appeal.
Embark on this culinary journey with your Korean Ground Beef Bowl and savor the delightful flavors!
How to Make Korean Ground Beef Bowls
-
Brown the Beef: In a large skillet over medium-high heat, brown the ground beef, breaking it into small pieces as it cooks. This should take about 5 minutes until fully cooked and no longer pink.
-
Add Flavors: When the beef is halfway cooked, add 1 tablespoon of soy sauce and about two-thirds of the chopped scallions. Stir everything together for a delicious infusion of flavor.
-
Incorporate Garlic: Stir in the minced garlic during the last 30 seconds of cooking. This step allows the garlic to become aromatic without burning.
-
Mix the Sauce: In a separate bowl, whisk together the rice vinegar, honey, ginger, and the remaining soy sauce. This tangy mix will add depth to your dish.
-
Simmer Together: Pour the sauce mixture over the browned beef in the skillet, allowing it to simmer for about 2 minutes. This will meld the flavors beautifully.
-
Finish with Flavor: Remove the skillet from the heat and stir in the sesame oil. Taste the beef and adjust the seasoning with additional soy sauce or red pepper flakes, if desired.
-
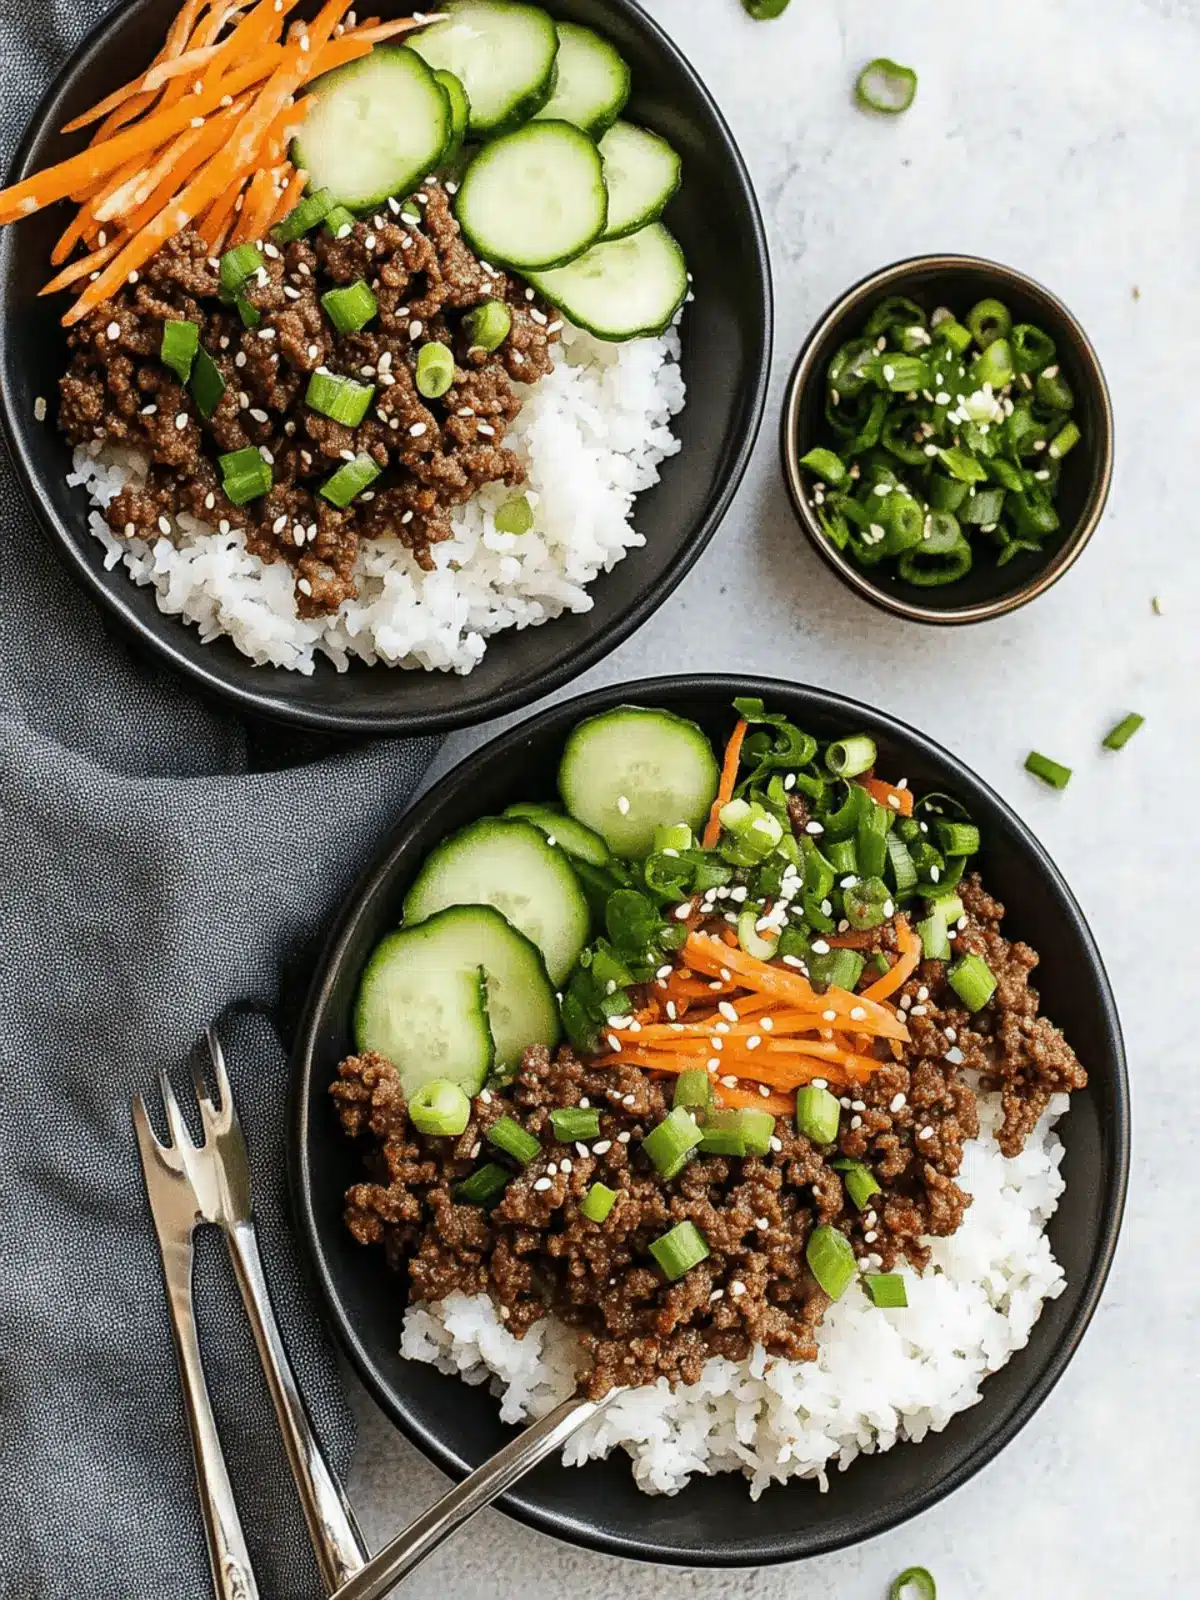
Serve It Up: Serve the savory beef over your choice of rice, quinoa, or cauliflower rice. Top with shredded carrots, cucumber slices, and sprinkle with the remaining scallions and toasted sesame seeds.
Optional: Drizzle with extra sesame oil before serving for an added depth of flavor.
Exact quantities are listed in the recipe card below.
Korean Ground Beef Bowl Variations
Customize your Korean Ground Beef Bowls with these delightful twists and substitutions that will keep every meal exciting!
-
Dairy-Free: Swap out any dairy toppings for a drizzle of coconut cream to add creaminess without the lactose.
-
Gluten-Free: Use gluten-free tamari in place of soy sauce, ensuring the dish remains allergen-friendly without sacrificing flavor.
-
Extra Veggies: Incorporate broccoli, bell peppers, or snap peas for added crunch and nutrition; simply add them to the skillet while cooking.
-
Spicy Kick: Add a splash of sriracha or chili paste during the cooking process for an extra layer of heat that warms the soul.
-
Herb Infusion: Toss in a handful of chopped basil or cilantro before serving to elevate the dish with fresh herbal notes.
-
Noodle Swap: Serve the beef over rice noodles instead of grain bases for a delightful change that makes every bite saucy and satisfying.
-
Crispy Texture: Top with fried shallots or crispy garlic for an explosive crunchy finish that contrasts beautifully with the tender beef.
Each variation can turn a familiar favorite into an exciting new dish, making every meal feel like a culinary adventure!
What to Serve with Korean Ground Beef Bowls?
Elevate your Korean Ground Beef Bowl experience with these delightful pairings that bring balance to your meal.
-
Steamed Broccoli: Adds a fresh, vibrant touch and a satisfying crunch, making each bite more wholesome and filling. Its mild flavor complements the beef wonderfully.
-
Kimchi: This classic Korean side dish offers a spicy, tangy kick that heightens the umami of the beef. Its crunchiness pairs beautifully with the tender ingredients of the bowl.
-
Sesame Cucumber Salad: Refreshing and light, this salad offers a contrast to the warm beef, enhancing the whole dish with its crisp, cool texture.
-
Spicy Pickled Carrots: Bright and tangy, the sweetness of the carrots balances the savory elements of the bowl, adding a delightful zing with every forkful.
-
Coconut Rice: Fluffy and aromatic, coconut rice introduces tropical flavors that harmonize with the sesame oil, creating an exotic twist to your meal.
-
Miso Soup: A comforting addition that’s light yet flavorful, miso soup helps cleanse the palate between bites and complements the rich flavors in the beef bowl.
-
Green Tea: This invigorating drink not only refreshes but also aids digestion, balancing the savory meal beautifully. Its earthy notes pair nicely with Korean flavors.
-
Lychee Sorbet: For dessert, this light and fruity sorbet provides a sweet finish, cleansing your palate with its refreshing flavors after the hearty beef.
Expert Tips for Korean Ground Beef Bowls
-
Quick Pickling: Enhance flavors by quick pickling your vegetables in rice vinegar, sugar, and water while preparing the beef—let them sit until serving for maximum taste.
-
Avoid Overcooking: Make sure your ground beef is fully cooked to prevent any food safety issues. Aim for a rich brown color.
-
Taste and Adjust: Season the dish progressively. Always taste before serving and adjust with additional soy sauce or red pepper flakes to match your flavor desire.
-
Substitution Flexibility: Feel free to swap ground beef with ground turkey or chicken for a lighter version. This keeps the dish healthy while offering new flavors.
-
Prep Ahead: For meal prep, store leftovers in airtight containers. This dish keeps well in the fridge, making it perfect for quick lunches throughout the week.
Make Ahead Options
Busy home cooks will appreciate how easy it is to prep Korean Ground Beef Bowls in advance! You can brown the ground beef and mix it with the sauce up to 3 days ahead, allowing the flavors to meld beautifully when refrigerated. Simply store it in an airtight container. For added convenience, slice your cucumbers and shred the carrots up to 24 hours before serving, keeping them crisp in the fridge. When you’re ready to enjoy your meal, simply reheat the beef mixture in a skillet and serve it over your choice of rice, garnishing with fresh vegetables and sesame seeds for that delightful crunch. This method not only saves time but ensures your meal is just as delicious!
Storage Tips for Korean Ground Beef Bowls
Fridge: Store leftovers in an airtight container for up to 4 days to maintain freshness. Make sure the dish cools completely before sealing to avoid condensation.
Freezer: For longer storage, freeze portions in airtight containers or freezer bags, where they can last up to 3 months. Thaw in the fridge overnight before reheating.
Reheating: Gently reheat in a skillet over medium heat until warmed through. You can add a splash of water or broth to keep it moist.
Make-Ahead: This dish is perfect for meal prep! Prepare the beef and store in the fridge, then assemble your bowls quickly for lunches throughout the week.
Korean Ground Beef Bowls Recipe FAQs
How do I select the best ground beef for my Korean Ground Beef Bowl?
Absolutely! Look for ground beef that has a good balance of fat to keep the dish juicy and flavorful. Aim for 80/20 ground beef, which includes 80% lean meat and 20% fat for optimal texture. Additionally, check the color—fresh ground beef should be a bright red with minimal dark spots.
How should I store leftovers from my Korean Ground Beef Bowl?
Very! Store any leftovers in an airtight container in the refrigerator for up to 4 days. Ensure the dish has cooled completely before sealing it to prevent condensation, which can lead to spoilage. You can also portion it out for easy grab-and-go lunches throughout the week.
Can I freeze my Korean Ground Beef Bowl?
Yes! This dish freezes wonderfully. For best results, transfer the cooled beef mixture into airtight containers or freezer bags. It can be stored for up to 3 months. When you’re ready to enjoy it, thaw it overnight in the fridge and reheat in a skillet over medium heat until warmed through.
What if my beef turns out dry?
If you find your ground beef is too dry, it might have been overcooked. Make sure to cook it just until it’s no longer pink and then avoid prolonged cooking after adding the sauce. To fix the dryness, you can add a splash of beef broth or water when reheating. This will help to restore moisture and flavor.
Is this recipe suitable for gluten-free diets?
Absolutely! Simply substitute regular soy sauce with gluten-free tamari. This way, you can keep all the hearty flavors intact while catering to dietary restrictions. Always check labels to ensure other ingredients, like broth or sauces you may add later, are gluten-free.
Can I use different vegetables in my Korean Ground Beef Bowl?
Certainly! Feel free to customize with a variety of vegetables. Try adding broccoli, bell peppers, or snap peas for added nutrition and crunch. You can sauté them in the skillet prior to adding the beef or serve them fresh on top for extra texture—happy cooking!
Savory Korean Ground Beef Bowls Ready in 20 Minutes
Ingredients
Equipment
Method
- In a large skillet over medium-high heat, brown the ground beef, breaking it into small pieces. This should take about 5 minutes until fully cooked and no longer pink.
- When the beef is halfway cooked, add 1 tablespoon of soy sauce and about two-thirds of the chopped scallions. Stir together.
- Stir in the minced garlic during the last 30 seconds of cooking.
- In a separate bowl, whisk together the rice vinegar, honey, ginger, and the remaining soy sauce.
- Pour the sauce mixture over the browned beef, allowing it to simmer for about 2 minutes.
- Remove from heat and stir in the sesame oil. Adjust seasoning with additional soy sauce or red pepper flakes if desired.
- Serve over your choice of rice, quinoa, or cauliflower rice, topped with shredded carrots, cucumber slices, scallions, and sesame seeds.

