

These Homemade Peanut Butter Cups combine creamy peanut butter with a rich, chocolatey coating for a classic treat that’s as fun to make as it is to eat. Perfectly portioned, they’re an irresistible addition to any dessert table.Whether you’re preparing for a holiday gathering or just satisfying a sweet craving, these no-bake cups are easy to whip up with simple ingredients you likely already have on hand. Share them with friends, gift them during the holidays, or keep them all to yourself—either way, they’re guaranteed to please!
Full recipe:
Ingredients:
- 1 cup creamy peanut butter
- 1/2 cup unsalted butter
- 1/4 cup brown sugar
- 2 cups powdered sugar
- 2 cups milk chocolate chips
- 2 teaspoons coconut oil
Directions:
- Line a muffin tin with 12 cupcake liners.
- In a medium saucepan, melt the butter and brown sugar over low heat, stirring constantly until smooth. Remove from heat.
- Mix in the peanut butter until fully combined, then gradually add the powdered sugar, stirring until the mixture thickens.
- Scoop about 1-2 tablespoons of the peanut butter mixture into each cupcake liner, flattening it to form an even layer.
- In a microwave-safe bowl, melt the chocolate chips and coconut oil in 30-second intervals, stirring between each, until smooth.
- Pour about 1-2 tablespoons of melted chocolate over the peanut butter layer in each liner, smoothing the top with the back of a spoon.
- Refrigerate for at least 1 hour or until set.
- Serve chilled and enjoy!
Prep Time: 15 minutes | Chill Time: 1 hour | Total Time: 1 hour 15 minutes
Kcal: 275 kcal | Servings: 12 cups

Why This Recipe Is the Best
- Simple and Quick: With just six basic ingredients, you can create a decadent dessert in no time. The recipe requires minimal effort and no special equipment, making it perfect for beginner cooks and seasoned bakers alike.
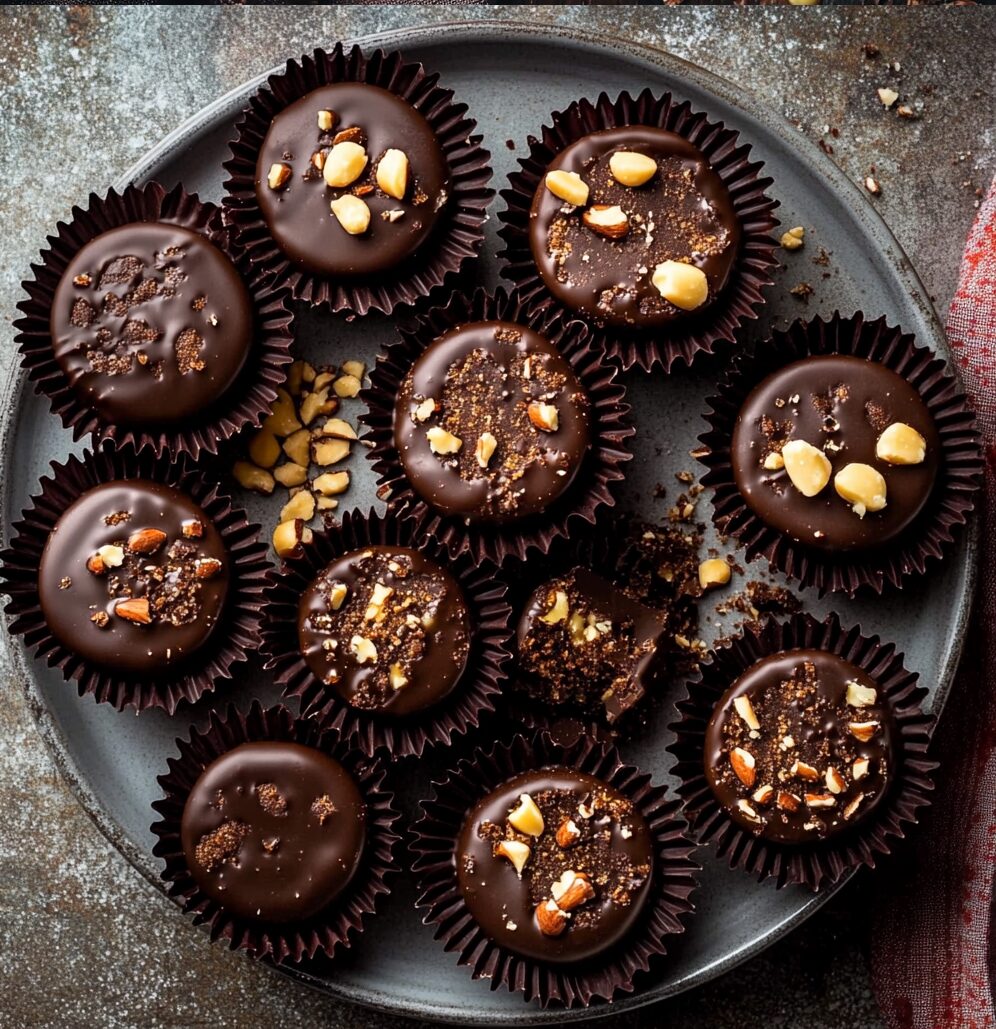
- Customizable: One of the biggest perks of this recipe is its versatility. Prefer dark chocolate? Swap it in for the milk chocolate. Want a crunch? Add chopped nuts or crushed pretzels to the peanut butter layer. You can even make these dairy-free by using vegan butter and dairy-free chocolate chips.
- No Baking Required: Since this is a no-bake recipe, you can whip it up without heating your kitchen—ideal for warm weather or when you’re short on time.
- Healthier Alternative: Unlike store-bought peanut butter cups, this recipe allows you to use natural peanut butter and reduce the sugar content, creating a slightly healthier version of the classic treat. You can even opt for organic or all-natural ingredients to make it more wholesome.
- Crowd-Pleaser: These peanut butter cups are universally loved and make the perfect treat for any occasion, whether it’s a party, a holiday gathering, or just a snack to satisfy your sweet tooth.
Benefits of Peanut Butter and Chocolate
Peanut butter is not only delicious but also a great source of protein, healthy fats, and essential nutrients like magnesium and vitamin E. While it is calorie-dense, enjoying it in moderation can provide a quick energy boost and help keep you feeling satisfied.
Chocolate, especially dark chocolate, is rich in antioxidants and can improve mood by boosting serotonin levels. The combination of peanut butter and chocolate creates a balanced indulgence that satisfies sweet cravings while offering some nutritional benefits.
The History and Allure of Peanut Butter Cups
The original peanut butter cups were created by Harry Burnett Reese, who worked for the Hershey Chocolate Company. His vision to pair peanut butter with chocolate resulted in a treat that became a staple in candy aisles around the world. Today, homemade versions like this recipe allow you to recreate that nostalgic flavor while adding your own personal touch.
Peanut butter cups are a symbol of comfort and joy, reminding us of childhood memories, Halloween treats, or simple moments of indulgence. Making them at home transforms a commercial product into a personal experience that you can share with loved ones.
How to Serve and Store Peanut Butter Cups
Homemade peanut butter cups are best served chilled to ensure the layers stay firm and the flavors are at their best. Once prepared, store them in an airtight container in the refrigerator for up to two weeks. For longer storage, you can freeze them for up to three months—perfect for making ahead during the holiday season.
Creative Serving Ideas
- Dessert Board: Add these peanut butter cups to a dessert charcuterie board alongside fresh fruit, nuts, and other sweets for a stunning presentation.
- Ice Cream Topping: Chop up the cups and sprinkle them over vanilla ice cream for an indulgent sundae.
- Gift Giving: Package them in decorative tins or boxes and gift them during the holidays or special occasions.
Tips for the Perfect Peanut Butter Cups
- Use Natural Peanut Butter: Natural peanut butter with minimal added sugar and oil gives the filling a pure, nutty flavor. Be sure to stir it well before using.
- Chill Between Layers: Allow the peanut butter layer to firm up in the refrigerator before adding the chocolate layer. This ensures clean, distinct layers.
- Microwave Melting Tips: When melting chocolate, stir frequently and use short bursts of heat to prevent burning. Adding a small amount of coconut oil helps create a smooth, glossy finish.
- Experiment with Flavors: Add a pinch of sea salt to the peanut butter layer or sprinkle flaky salt on top of the chocolate for a gourmet twist.
Why Make These at Home?
Making peanut butter cups at home offers a sense of accomplishment and joy that you just don’t get from opening a store-bought package. Not only can you tailor the recipe to your preferences, but you’ll also know exactly what’s in your treat—no hidden preservatives, hydrogenated oils, or excess sugar.
Additionally, homemade peanut butter cups are a fun activity for kids and adults alike. Getting the family involved in layering and decorating them can turn this recipe into a bonding experience.
Fun Variations
- Crunchy Peanut Butter Cups: Use crunchy peanut butter instead of creamy for added texture.
- Peanut Butter and Jelly Cups: Add a small dollop of your favorite jam or jelly to the peanut butter layer for a sweet and fruity twist.
- Almond Butter Cups: Swap peanut butter for almond butter for a slightly different flavor profile.
- Holiday-Themed Cups: Decorate the tops with festive sprinkles for holidays like Christmas, Halloween, or Valentine’s Day.
The Perfect Treat for Any Occasion
Peanut butter cups are universally loved because they strike the perfect balance between salty and sweet. Whether you’re craving a snack, hosting a party, or preparing gifts, this recipe is guaranteed to impress. Plus, their small, individual portions make them ideal for sharing or enjoying as a quick indulgence.
Conclusion
This recipe brings you the best of both worlds: the nostalgic flavor of classic peanut butter cups and the joy of creating them from scratch. With their rich chocolate shell and creamy peanut butter center, these treats are sure to become a household favorite.
Enjoy them as a midday pick-me-up, an after-dinner dessert, or a thoughtful homemade gift. Once you’ve tried these, store-bought peanut butter cups will never taste the same again!


